

Writing On The Ipad Pro
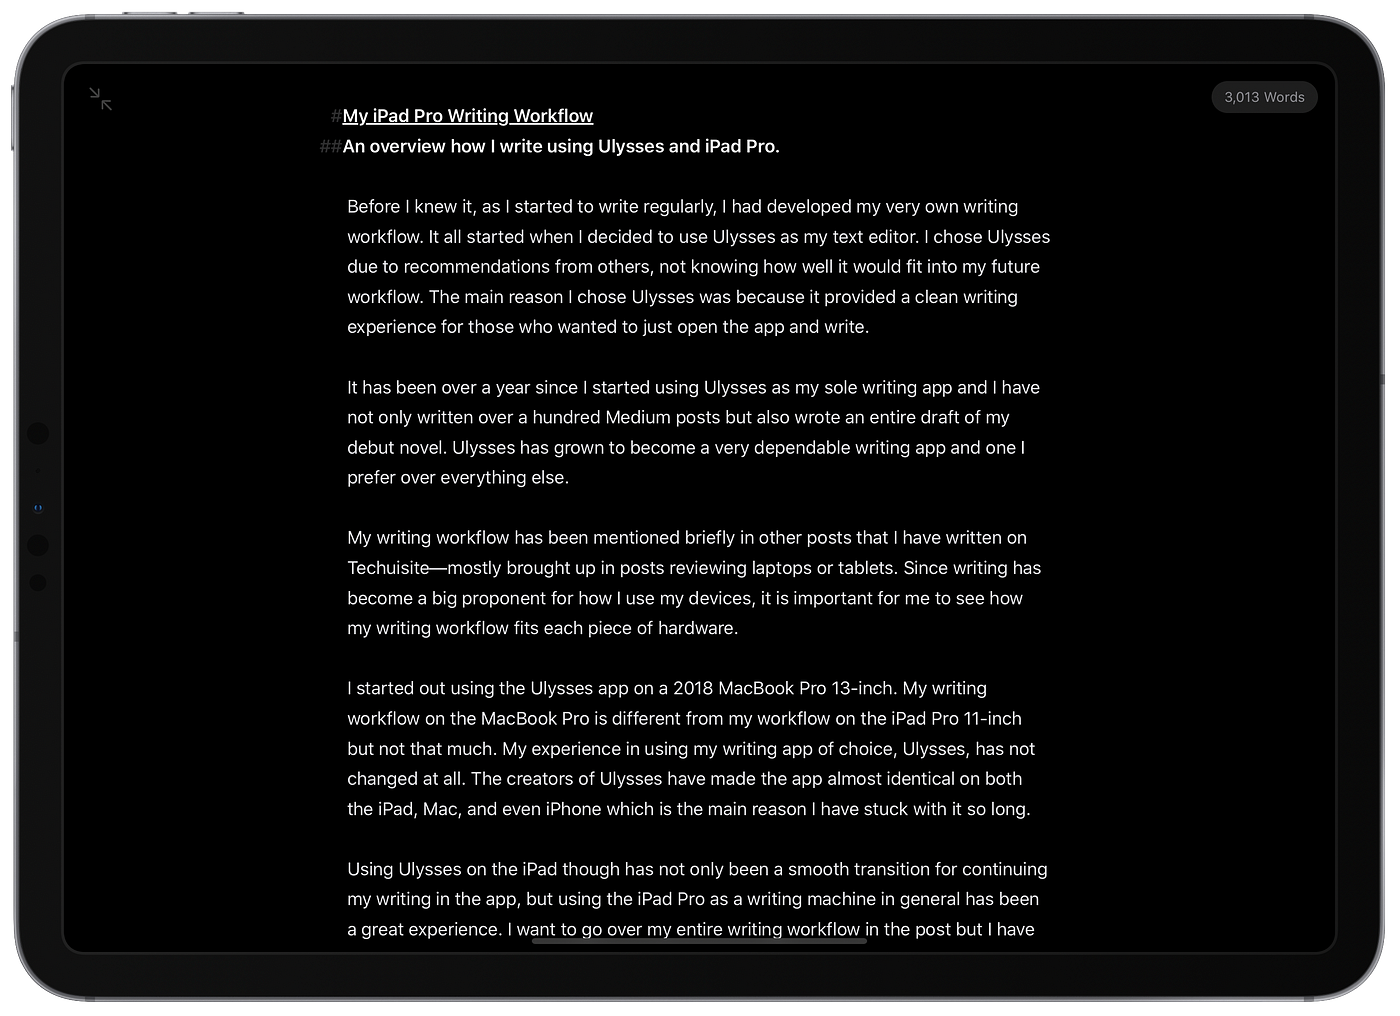
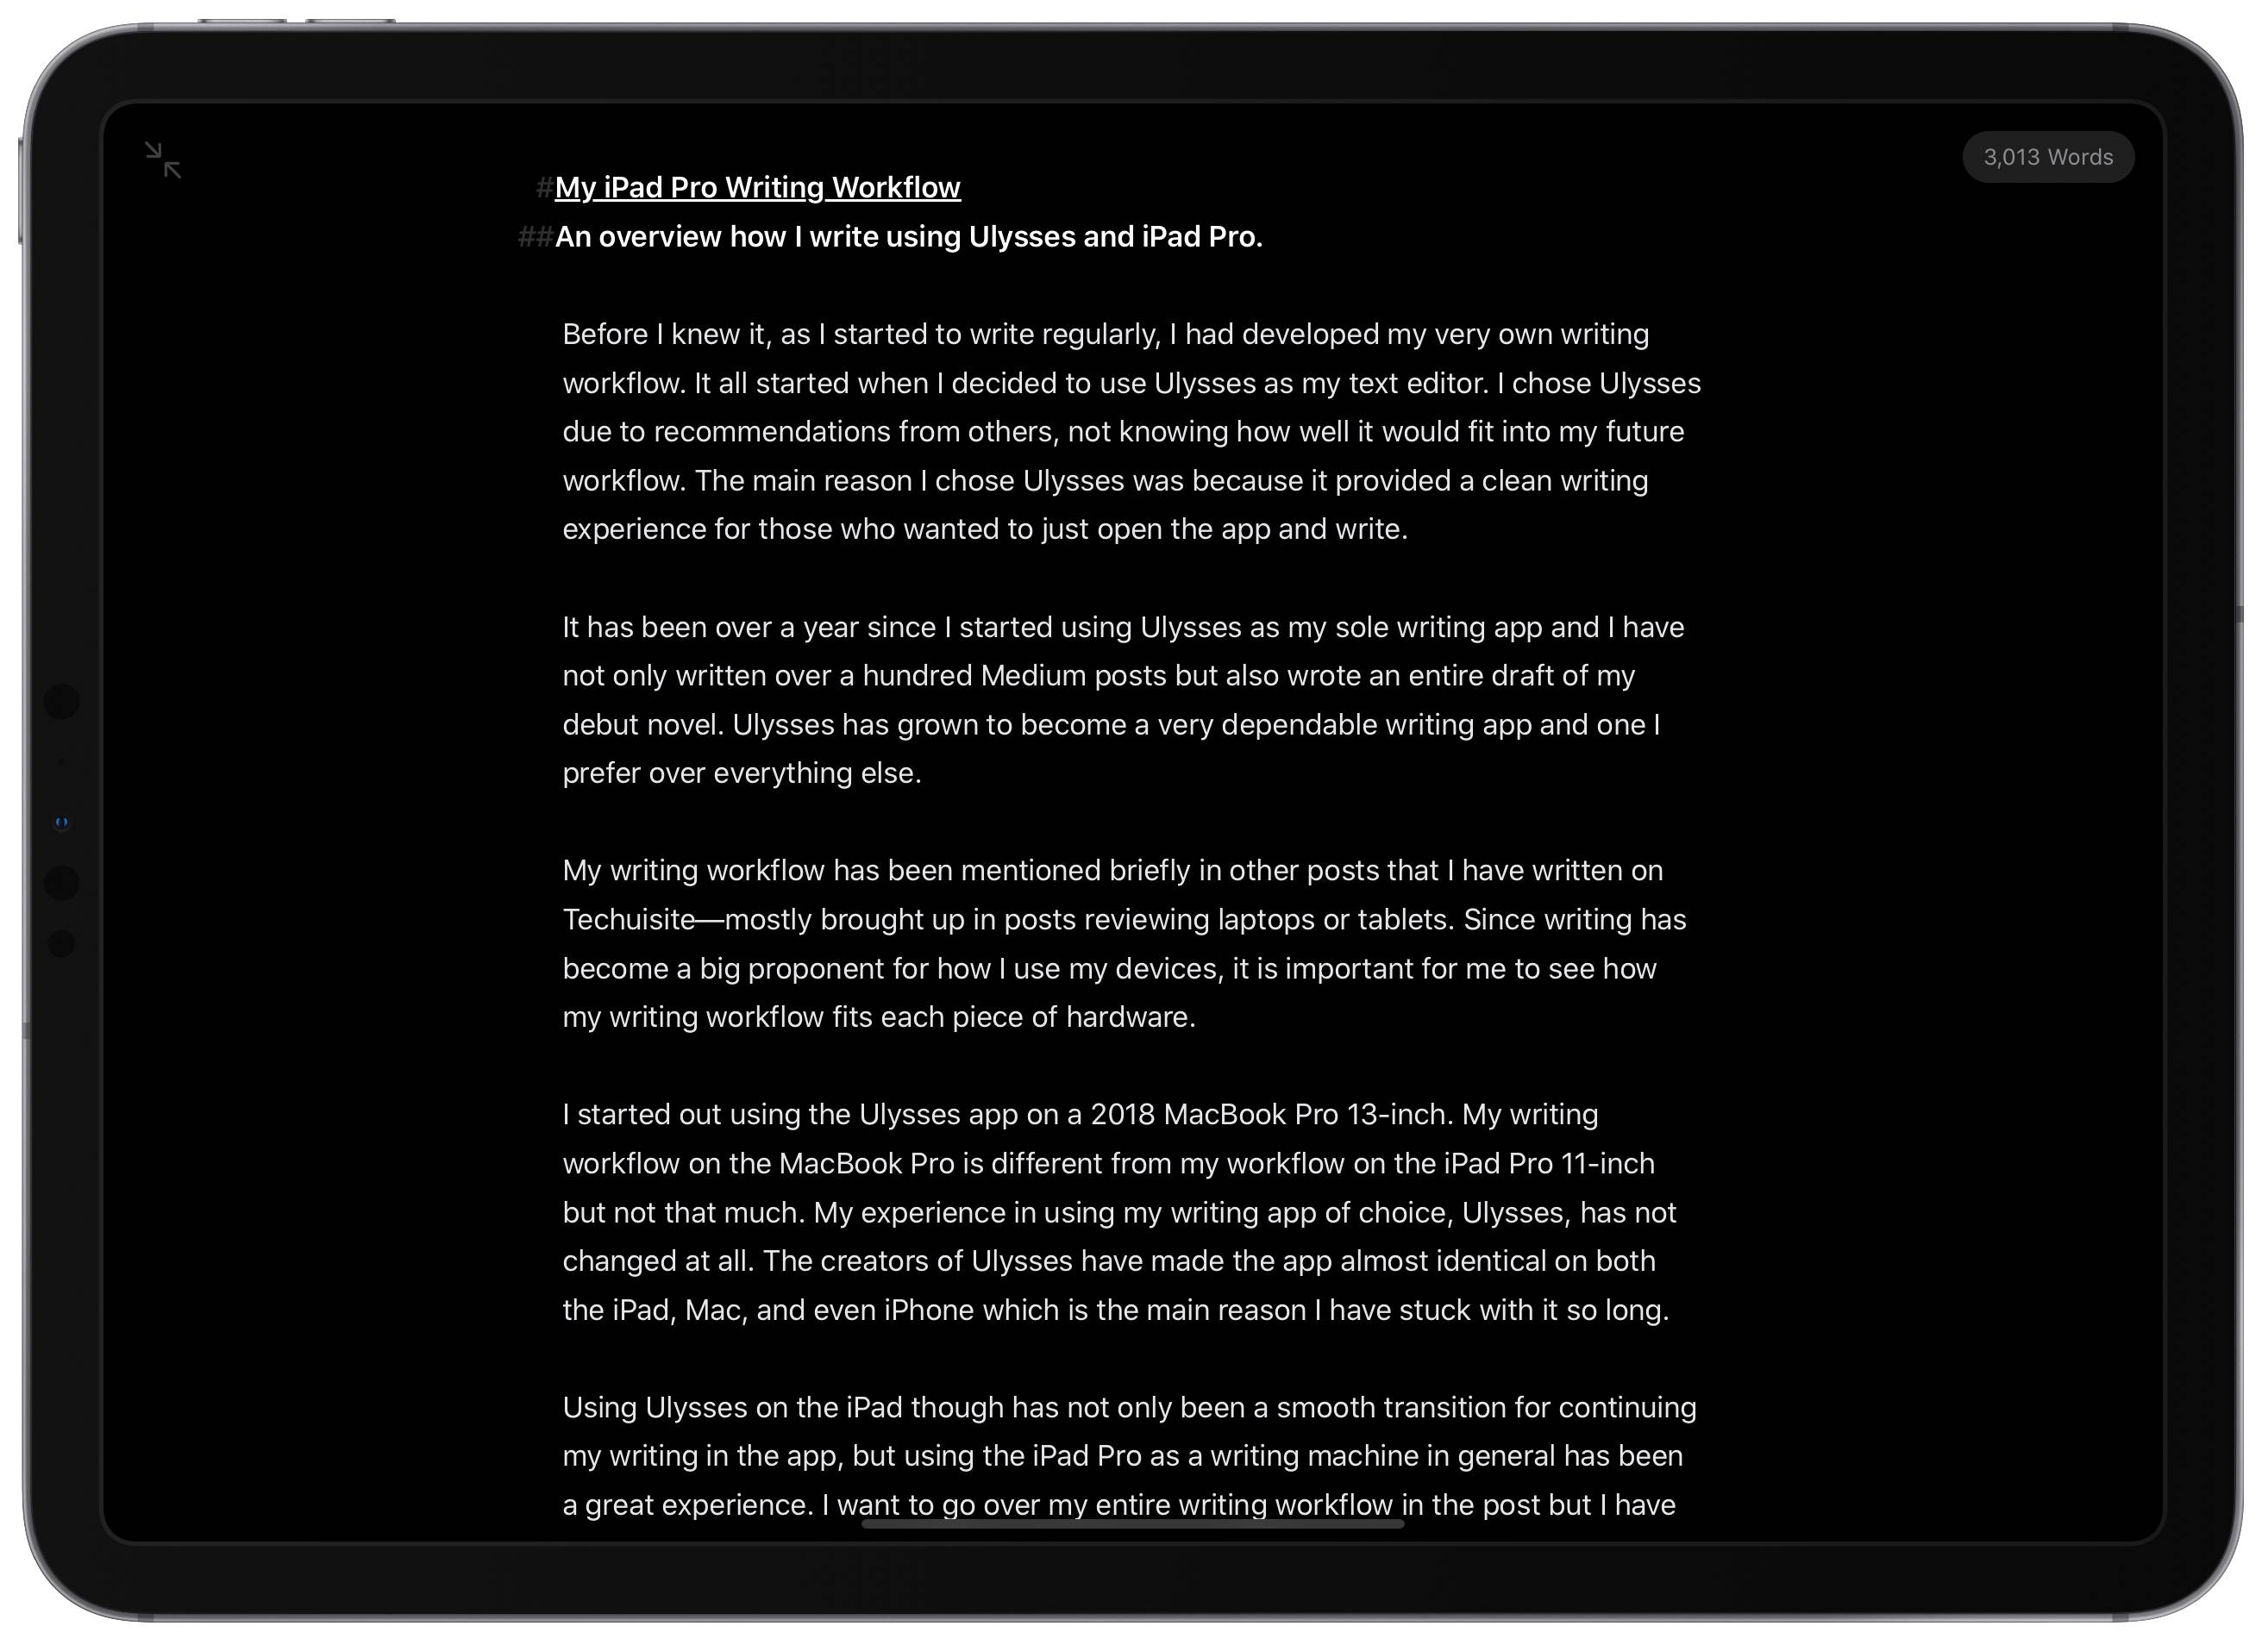
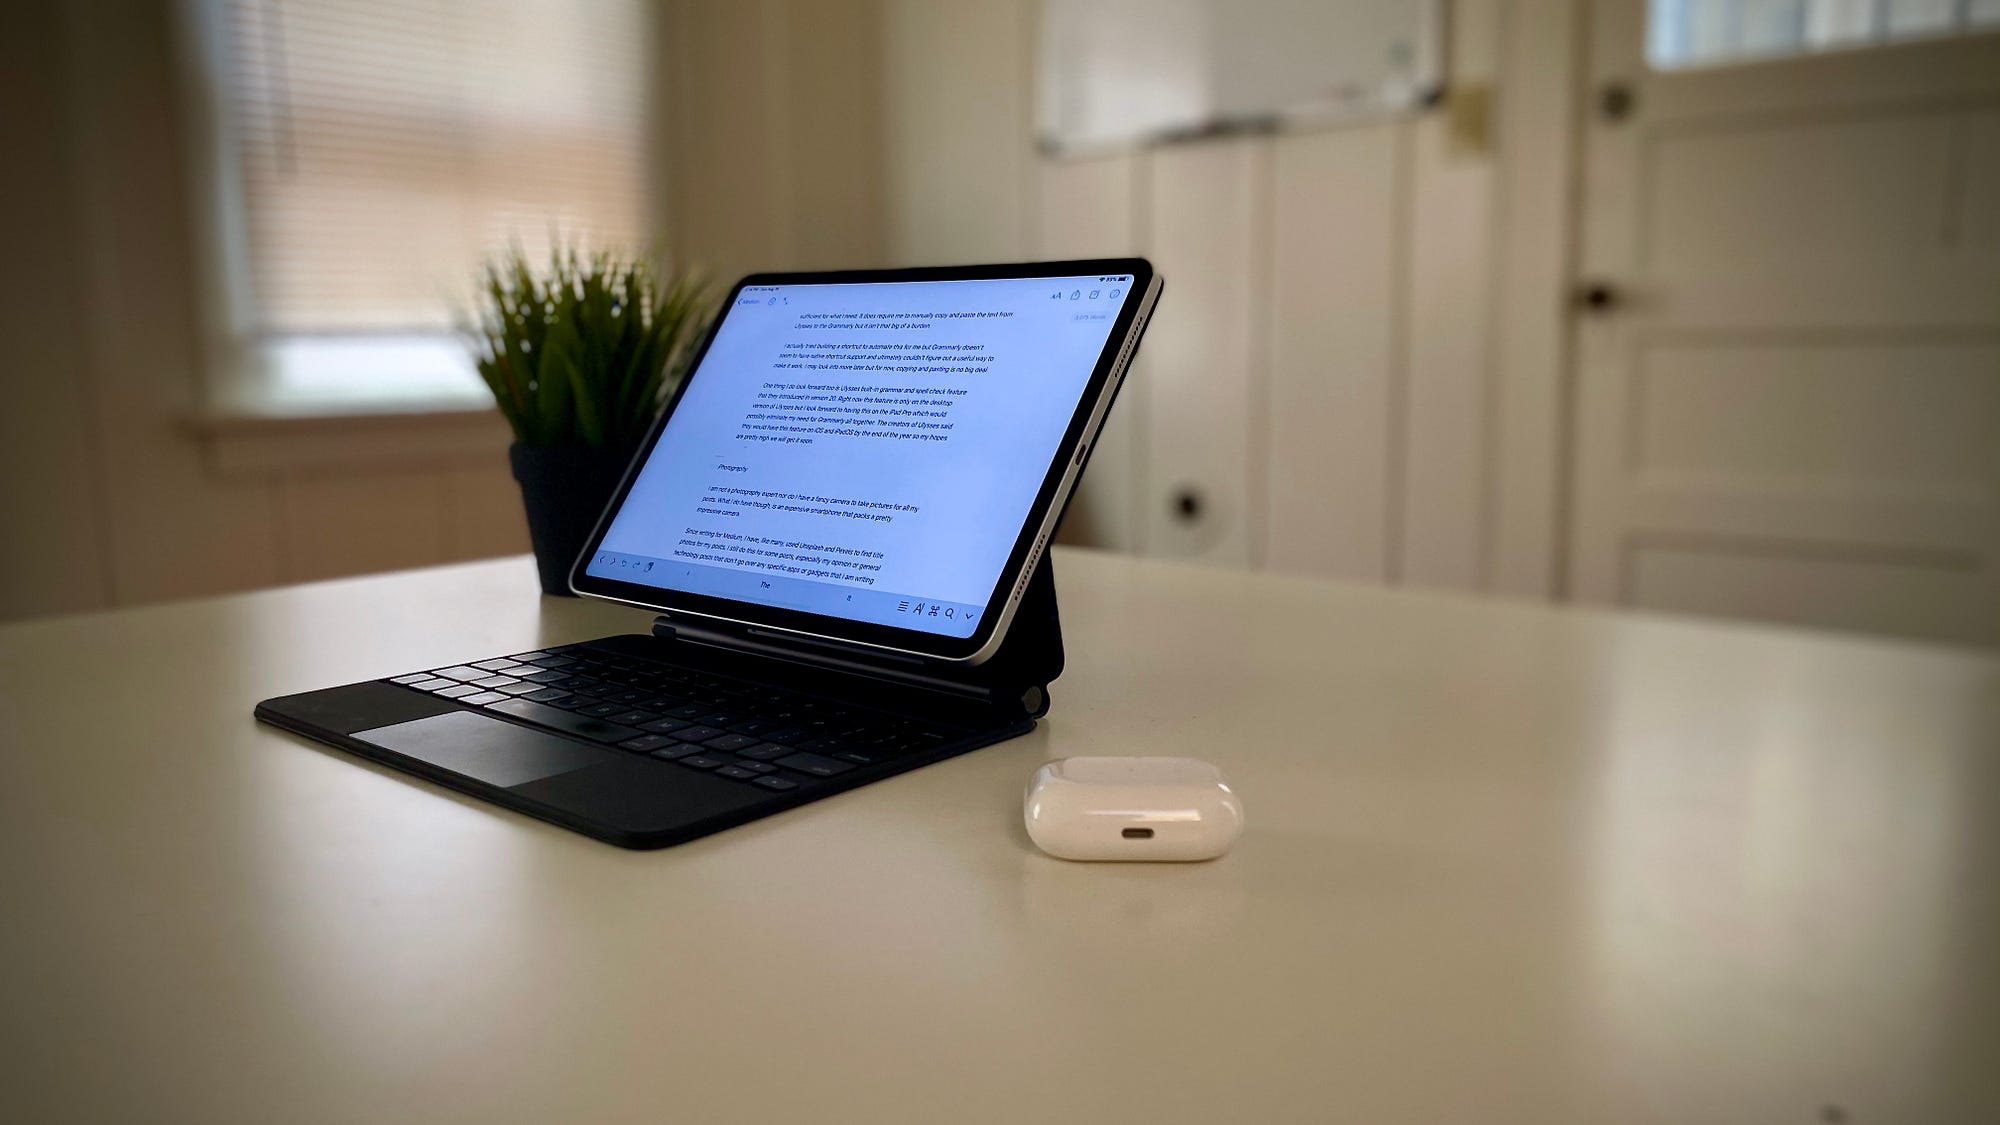
My Writing Workflow on iPad Pro
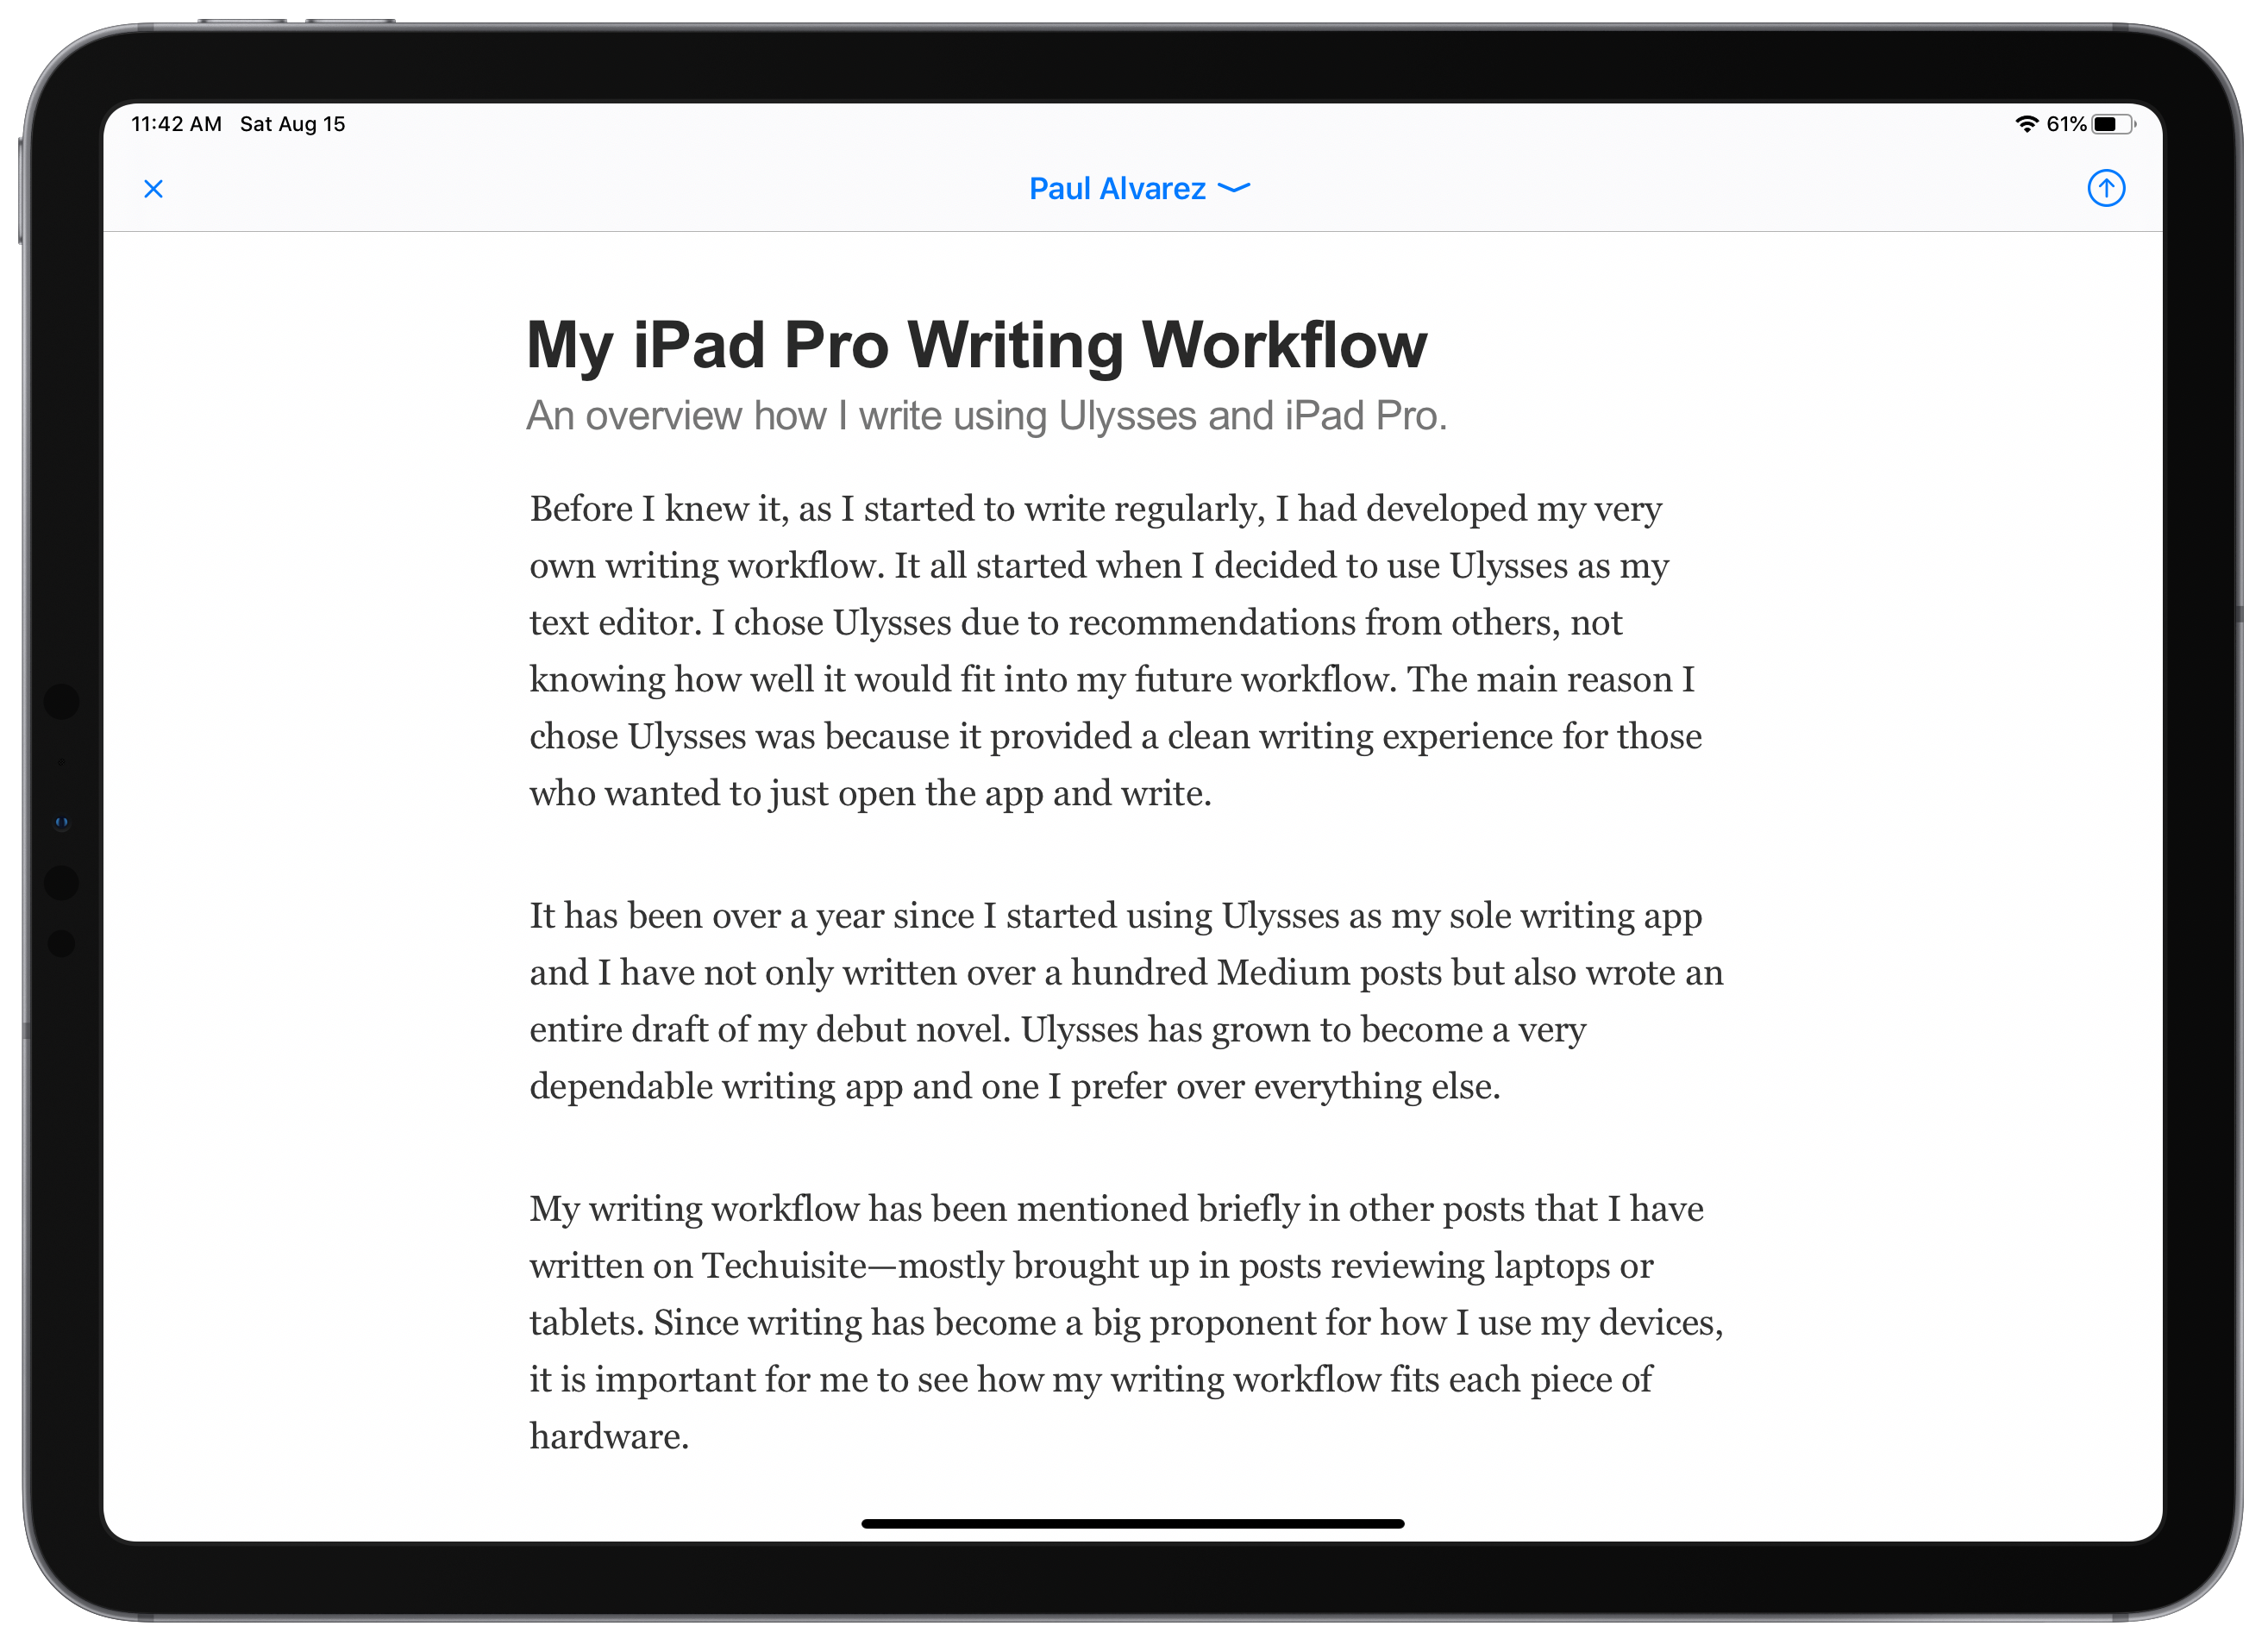
An overview of how I write using Ulysses and iPad Pro.
![]()
Before I knew it, as I began to write more regularly, I had developed my very own writing workflow. It all started when I decided to use Ulysses as my text editor. I chose Ulysses due to recommendations from others online, not knowing how well it would fit into my future workflow. The main reason I chose Ulysses was that it provided a clean writing experience for those who wanted to just open the app and write.
It has been over a year since I started using Ulysses as my sole writing app, and I have not only written over a hundred Medium posts but also wrote an entire draft of my debut novel. Ulysses has grown to become a very dependable writing app, and one I prefer over everything else.
My writing workflow has been mentioned briefly in other posts that I have written on Techuisite — mostly brought up in posts reviewing laptops or tablets. Since writing has become a big proponent for how I use my devices, I must see how my writing workflow fits each piece of hardware.
My Writing Hardware
iPad Pro 11-inch
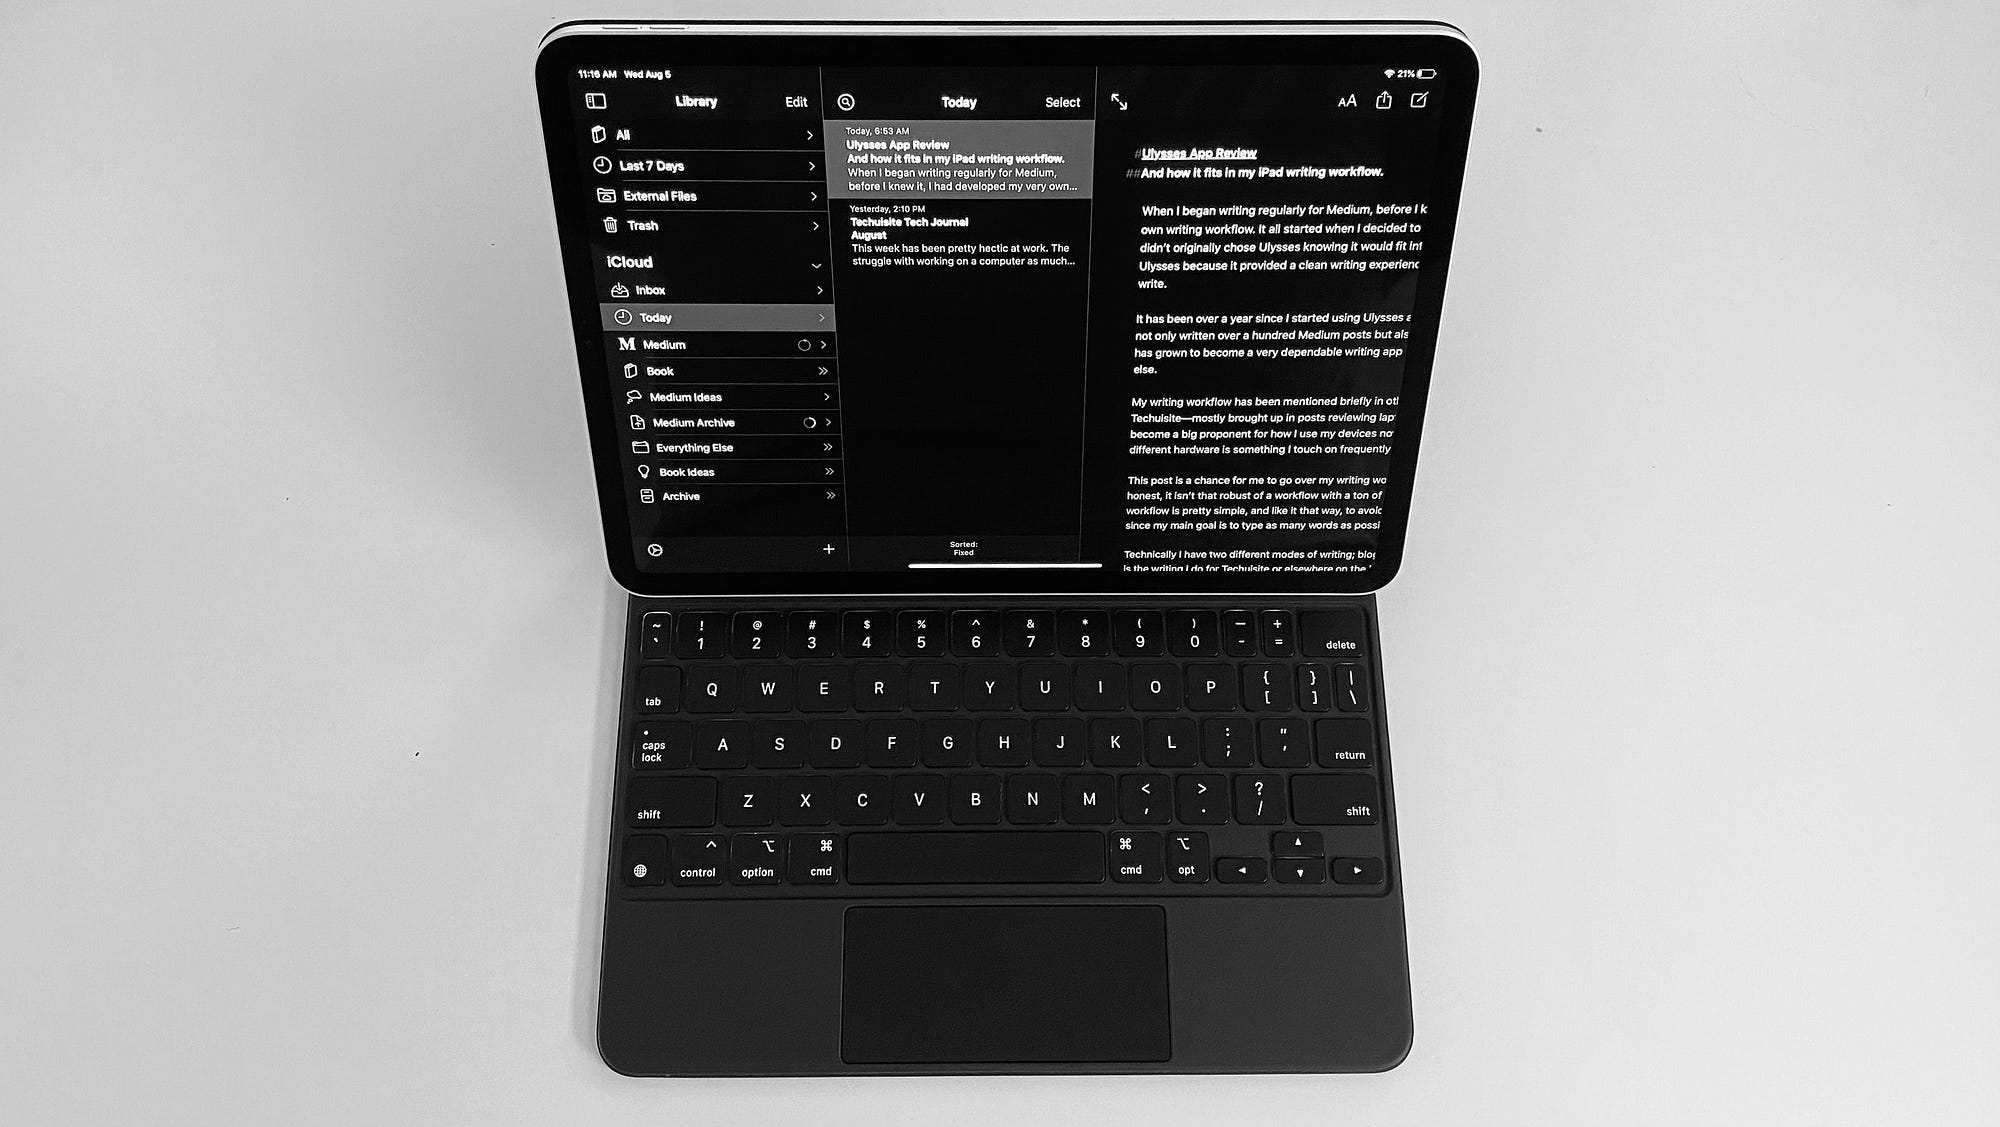
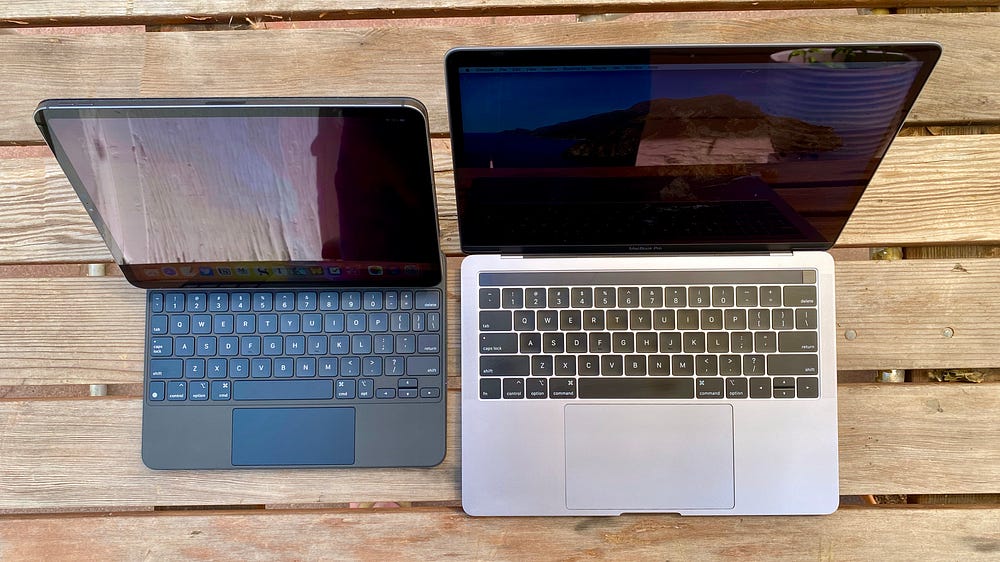
I started out using the Ulysses app on a 2018 MacBook Pro 13-inch. My writing workflow on the MacBook Pro is different from my workflow on the iPad Pro 11-inch but not that much. My experience in using my writing app of choice, Ulysses, has not changed at all. The creators of Ulysses have made the app almost identical on the iPad, Mac, and even iPhone, which is the main reason I have stuck with it for so long.
Using Ulysses on the iPad though has not only been a smooth transition for continuing my writing in the app but using the iPad Pro as a writing machine, in general, has been a great experience. I have to say that the iPad Pro with Magic Keyboard and Ulysses together makes one mighty setup for any writer.
This, of course, has a lot to do with the cursor support added to the iPad Pro early this year. I was skeptical at first when the feature was first released on the iPad but have found that it adds so much to my writing productivity that you only got on the Mac before. Whether using a Bluetooth mouse, trackpad, or the Magic Keyboard, having a cursor when writing is so beneficial and with Ulysses supporting the cursor so quickly adds to why I like this writing app so much.
I have a full review of the iPad Pro but the main reason I use it is that I do feel my writing workflow has improved dramatically over the past few months since I have been using it full time. The iPad Pro, even with multitasking now, still provides a really great experience if you want to just work on one thing at a time.
You can, of course, emulate this same experience on a Mac by putting the Ulysses app or Notes app into the full screen, but the iPad Pro has restrictions that the Mac just doesn't have. The ability to stack windows alone is something you just can't do on an iPad, which forces you too, for the most part, stay in one app at a time.
Magic Keyboard
I also love the Magic Keyboard more as I use it. Though I was one of the few fans of the now-dead Butterfly Keyboards, the keys on the keyboard for the iPad Pro is spectacular. I also love the angle that the iPad Pro sits whether on my lap or desk, and like I mentioned before, the built-in trackpad adds so much for my writing for an extended period.
I do sometimes have to deal with neck and back pain if I am sitting at my desk for too long while using the Magic Keyboard. But I have been trying to switch to standing, by using the StandStand, or sitting on the couch with my feet up to give my neck a break. My next desk will definitely be a standing desk to hopefully help with even more in the future.
Apple Pencil
The Apple Pencil is mainly used for jotting down ideas or creating mind maps in GoodNotes. I sometimes will use it in Apple Books to help highlight text in my book that I want to edit in Ulysses later, but I mostly do this on the Kindle now — which I will go over a little later.
AirPods Pro
Along with the iPad Pro 11-inch with Magic Keyboard, AirPods have been a staple for my writing setup. Not only have they been an amazing addition to my audio listening experience but the ability to seamlessly connect from one device to another has always been the reason I stick with AirPods.
The AirPods Pro with noise cancellation has stepped up my productivity game when writing though since I can literally block out the world and just listen to music as I type. The fit in my ear and the sound quality for heavy bass music has provided a much better listening experience than my previous AirPods.
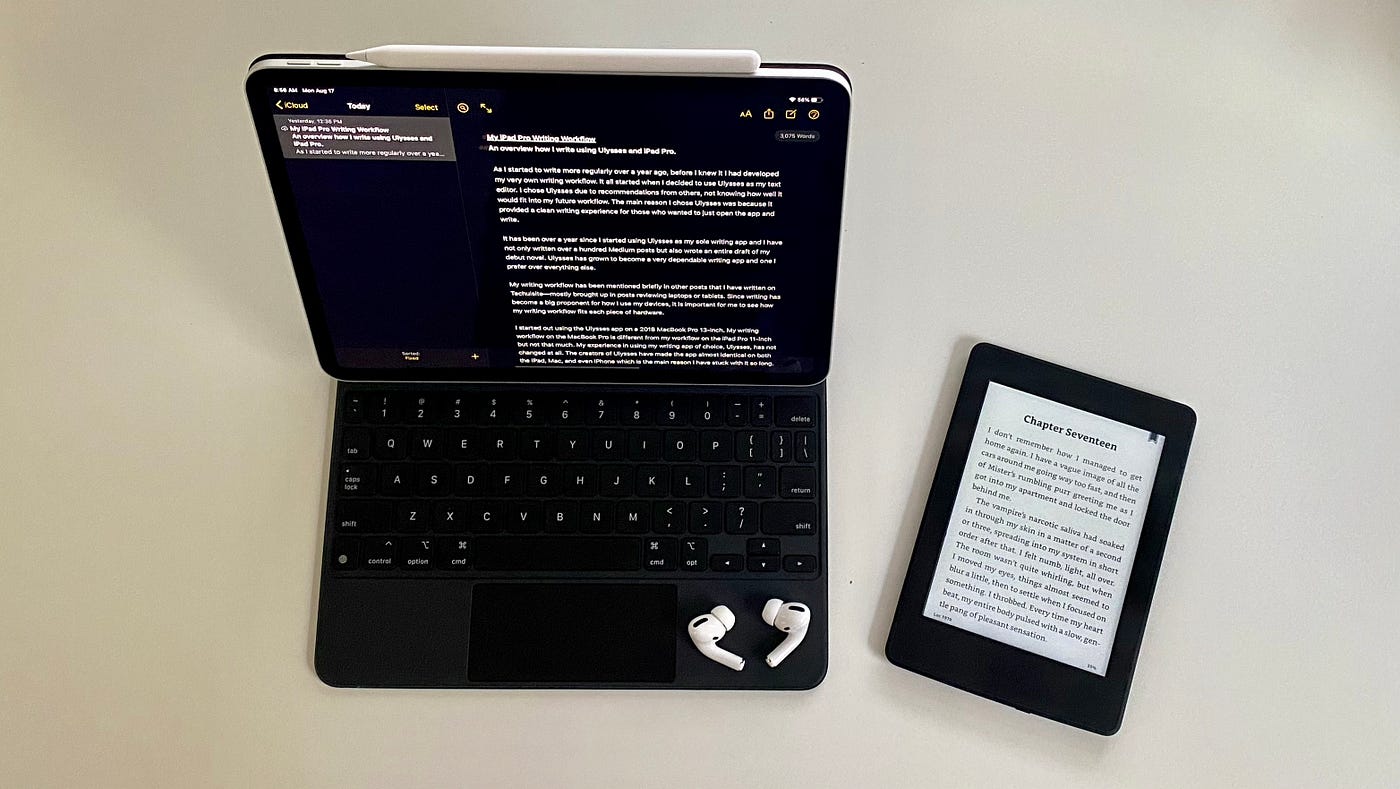
Kindle Paperwhite
I just wanted to quickly add that I do use my Kindle for parts of my writing workflow as well — specifically when editing my novel. When I have a chapter that I feel is on the verge of being complete, I like to export the chapter to my Kindle to read it there.
Reading my book on a Kindle is the closest thing to reading it as a published book, so having the experience of reading my chapters like a book on my Kindle helps get a glimpse of how the book will actually read. It is a small thing but something I felt worth mentioning since I have been doing this a lot lately as I get closer to finishing my book.
My Writing Workflow
So now, let's begin by going over my writing workflow in more depth. I will be honest, it isn't that robust of a workflow with a ton of shortcuts and other apps. My writing workflow steps are:
- Prep
- Getting Started
- Write
- Edit
- Photos
- Publish
As you can see, my workflow is pretty simple. And I like it that way, to avoid as much friction as possible since my main goal is to type as many words as possible and eventually publish.
Prep
This first step is an optional one for me. Sometimes prepping for a short or long post just requires me to jot down an idea either in Things or Ulysses directly. When I think of an idea for a post, I usually create a new Ulysses sheet and make the idea the title of the post using the header Markdown syntax (#).
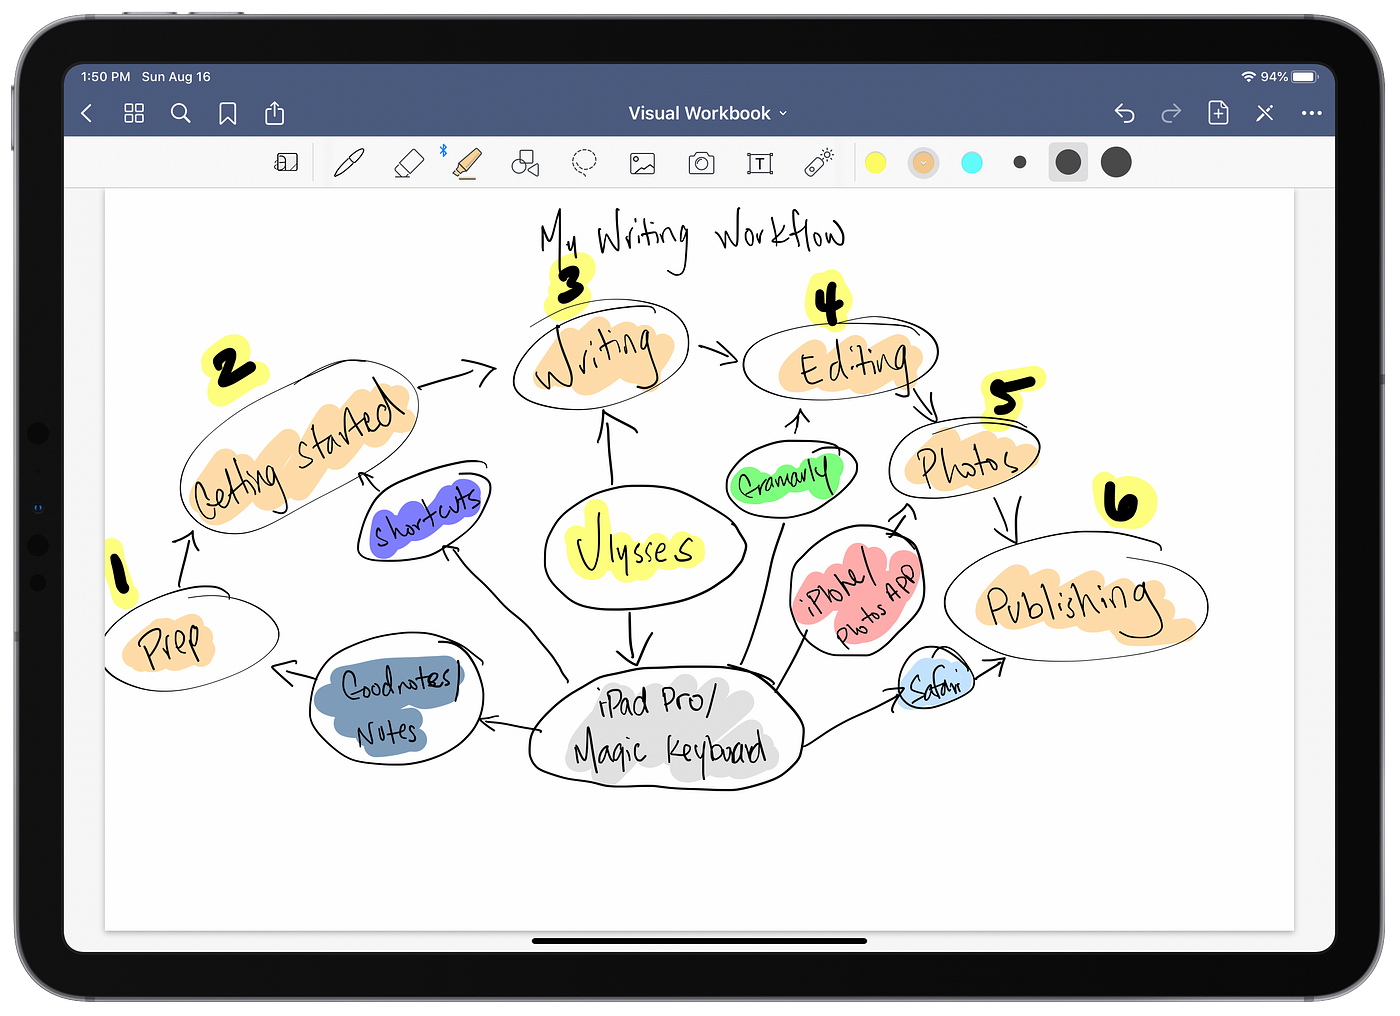
Other times, when it is something that has a little more complexity or if I want to tie a few different topic ideas into one overarching topic, I like to brainstorm and allow myself to visually work through my thoughts.
I know many like to start with mind maps to visualize an idea or project. I have tried mind maps many times using MindNode or manually in a drawing app using my Apple Pencil, but I have since been able to find value in that process.
Maybe in the future, when I am working on a large project with a vast number of dependencies, like writing a novel series, I will try an app like MindNote again. For now, GoodNotes and Apples Notes app work just fine for me to jot down some ideas and visualize what it is I am after in the idea for a post.
Usually, I just open my Visual Workbook in GoodNotes and just start writing down the topic I had in mind. Listing out all the sections of the post, include any other topics or ideas that might be related, then try and tie it all together in one cohesive idea. The point of this step is to try and move all the things out of my head and on to the page to make it easier for me to better visualize so I can move things around, eliminate something, or extrapolate things further.
Getting Started
This is a step for me, something that I got from others that use iPad for their writing workflow and is a simple way to get into the mode of writing. Due to the fatigue from working, the busyness of life, and other personal things that eat away at our brain, it can sometimes be hard to just get started. This tiny shortcut of mine helps get over that hump and get motivated to write.
I have had this shortcut in several different places; on the homescreen, on the dock, but eventually found it in the Today views shortcut widget as the best place. It makes it easy to get to when I sit down to my iPad Pro and want to start writing.
The shortcut itself, as mentioned early, is simple. It has only two steps:
- Play the Writing playlist in Music
- Open Ulysses to either my Medium or Book group
When you click the shortcut, I have made it, so it asks which type of writing do I want to do. The Writing playlist has already started once I click the shortcut, so all I have to do next is choose; Medium or Book.
My Writing playlist has grown over the years, but it includes a variety of soundtracks like Interstellar and Monumental Valley. The playlist also includes a ton of other non-lyrical music from different Apple Music Lo-fi playlists, classical music, jazz music, and other artists I have found over the years.
Each choice is set to open a different group in Ulysses. I have a group for Medium and my Book that has all the sheets that I am working on. Like I said, it is a straightforward shortcut and just gets me in the mode of writing.
Could I just open up the music, find my writing playlist, press play, then open Ulysses without the shortcut? Sure. But what is the fun in that? I also like the idea of not having to open more apps than I need. Once I click this shortcut, it is telling my brain that I have made the conscious decision to start writing and has actually been very helpful in getting me to focus — that, to me, is very valuable.
Here is a link if you want to download the shortcut for yourself:
Writing Shortcut
Writing
Finally, we get to Ulysses and writing. Many other great articles go over Ulysses in great detail, like this one from The Sweet Setup. They even have a whole course by Shawn Blanc going over how he uses Ulysses for all of his writing.
For me, I like to keep things as simple as possible. I have created Groups for each area of my writing, Medium and Book, then a bunch of other folders to move sheets when I am done with them, like Medium Archive or Everything Else.
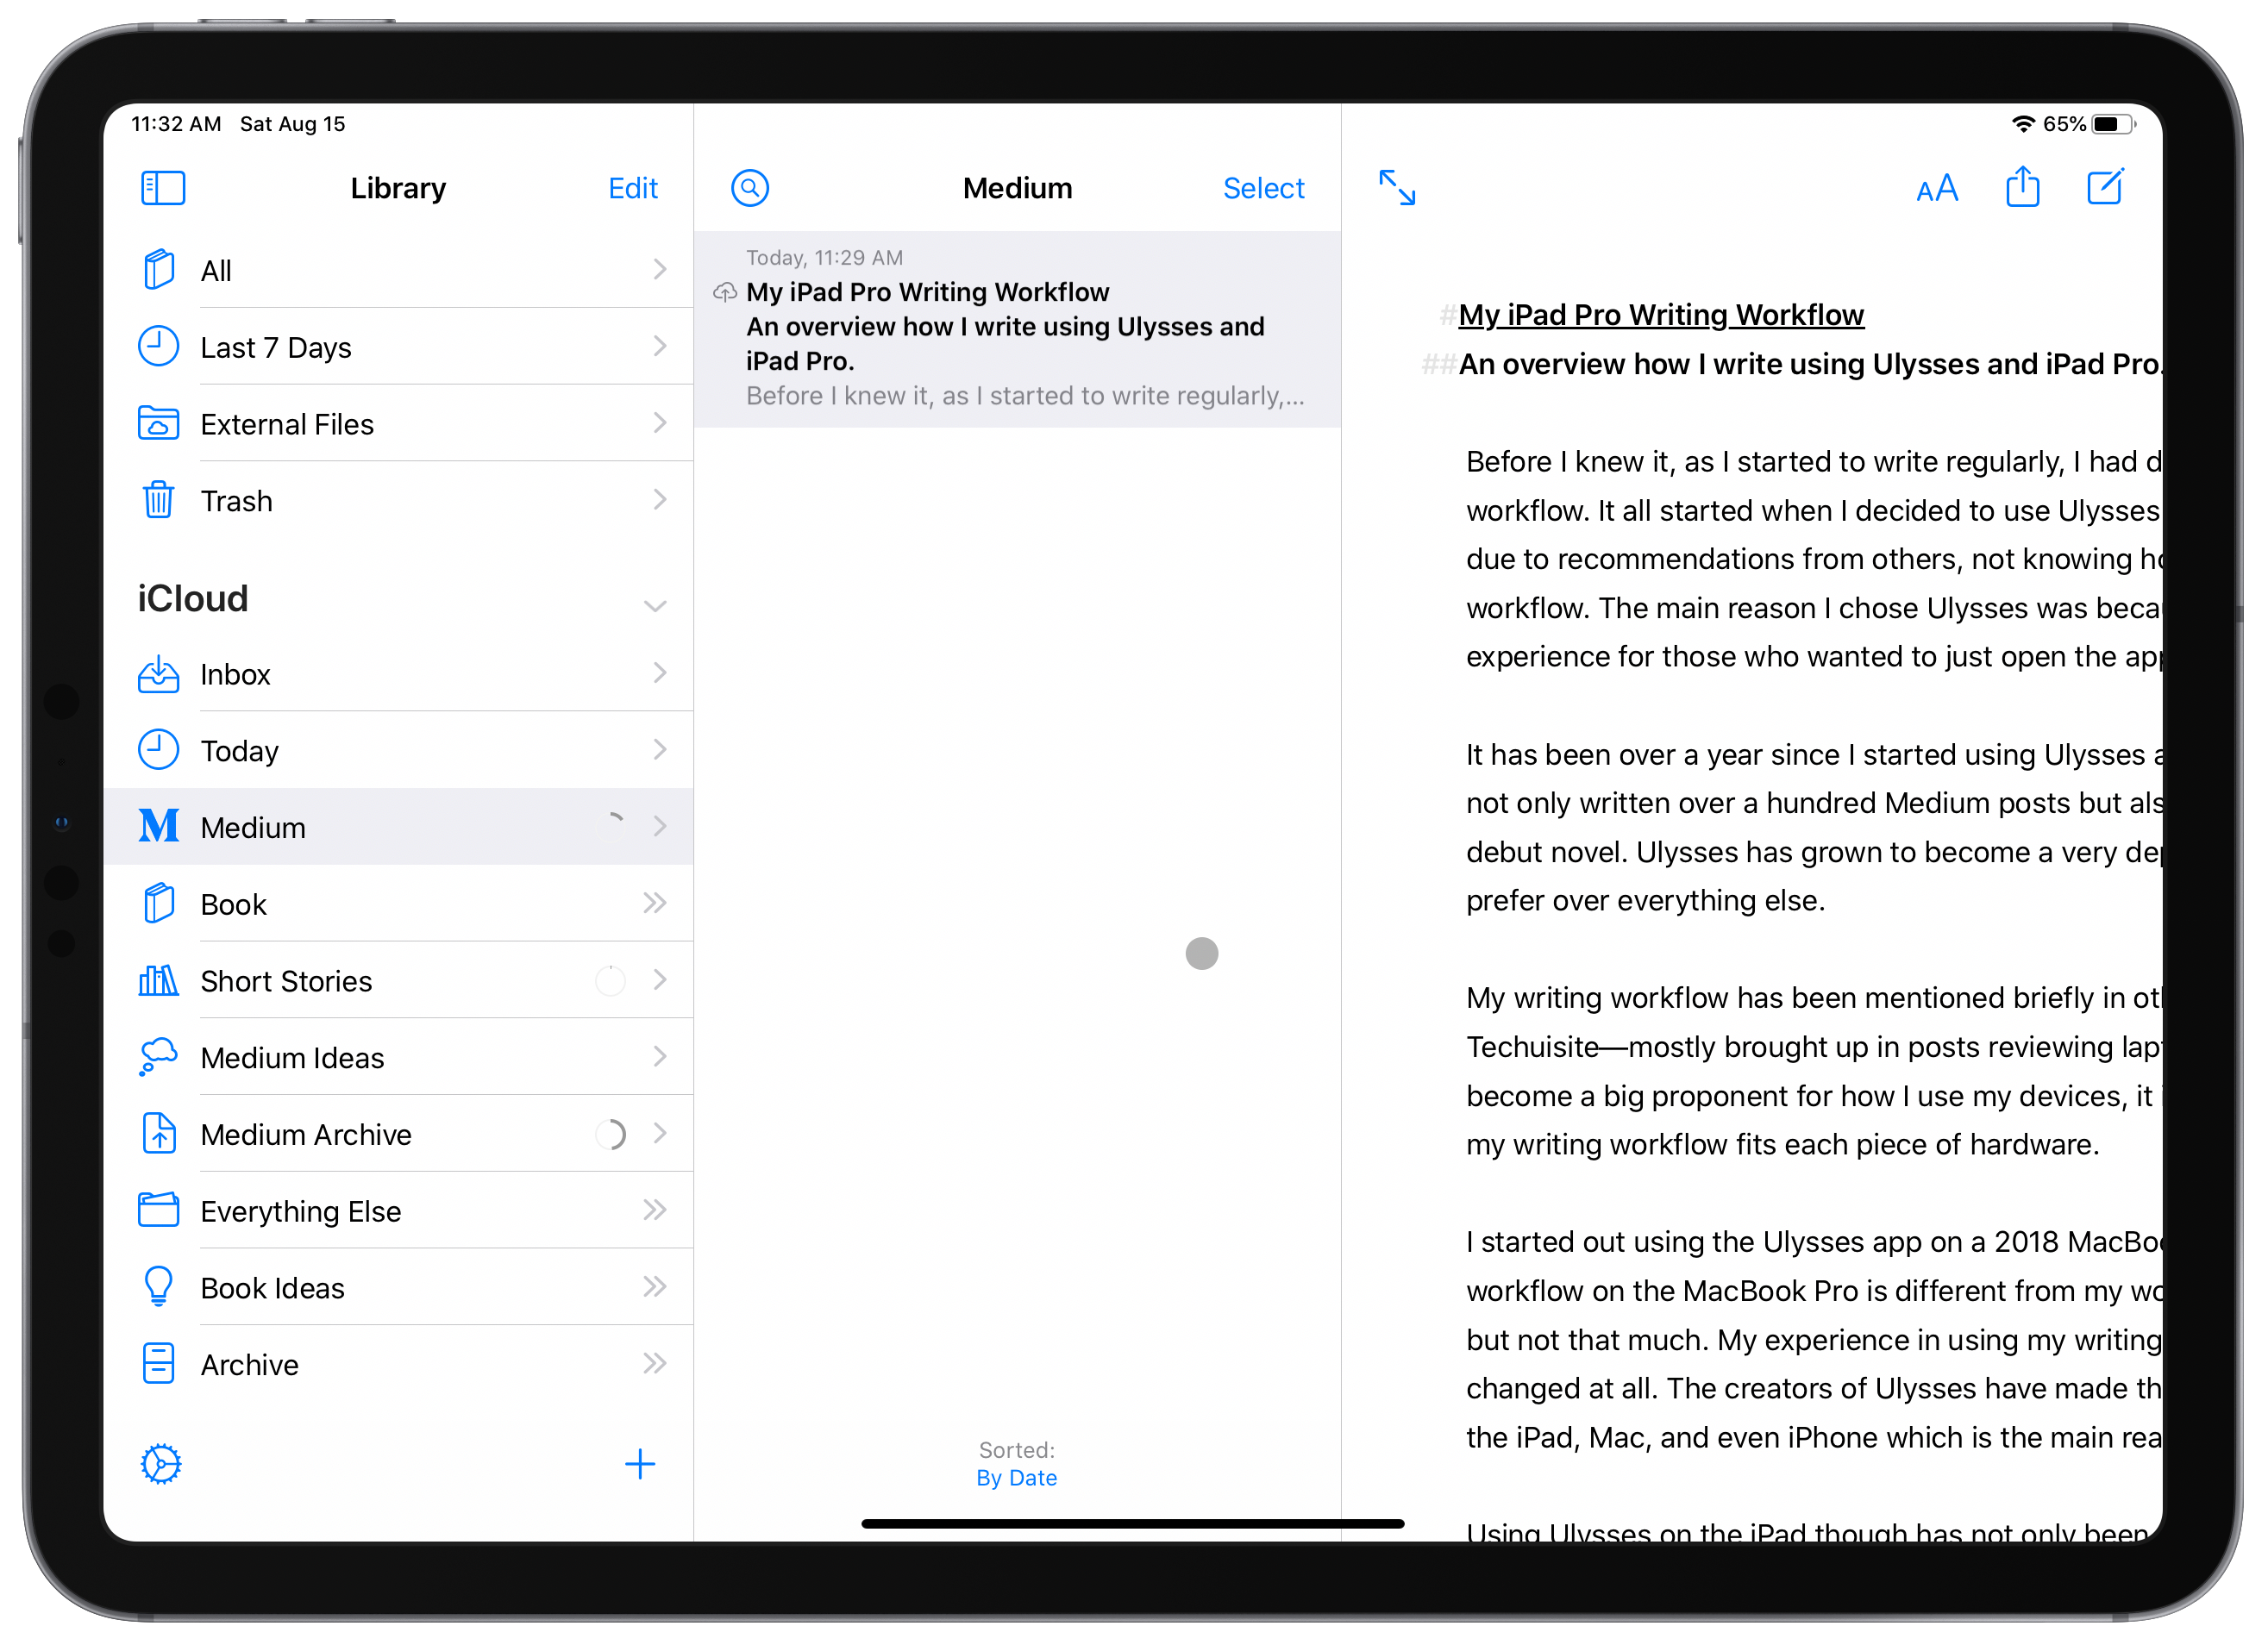

One thing that I stole from Shawn Blanc was having a Today folder. This folder has settings that will show any sheet that you worked on in the last 24 hours. So, any of the chapters that I am editing on my book or a Medium post that I am working on one day will show up in the Today folder the next day for me to quickly get started.
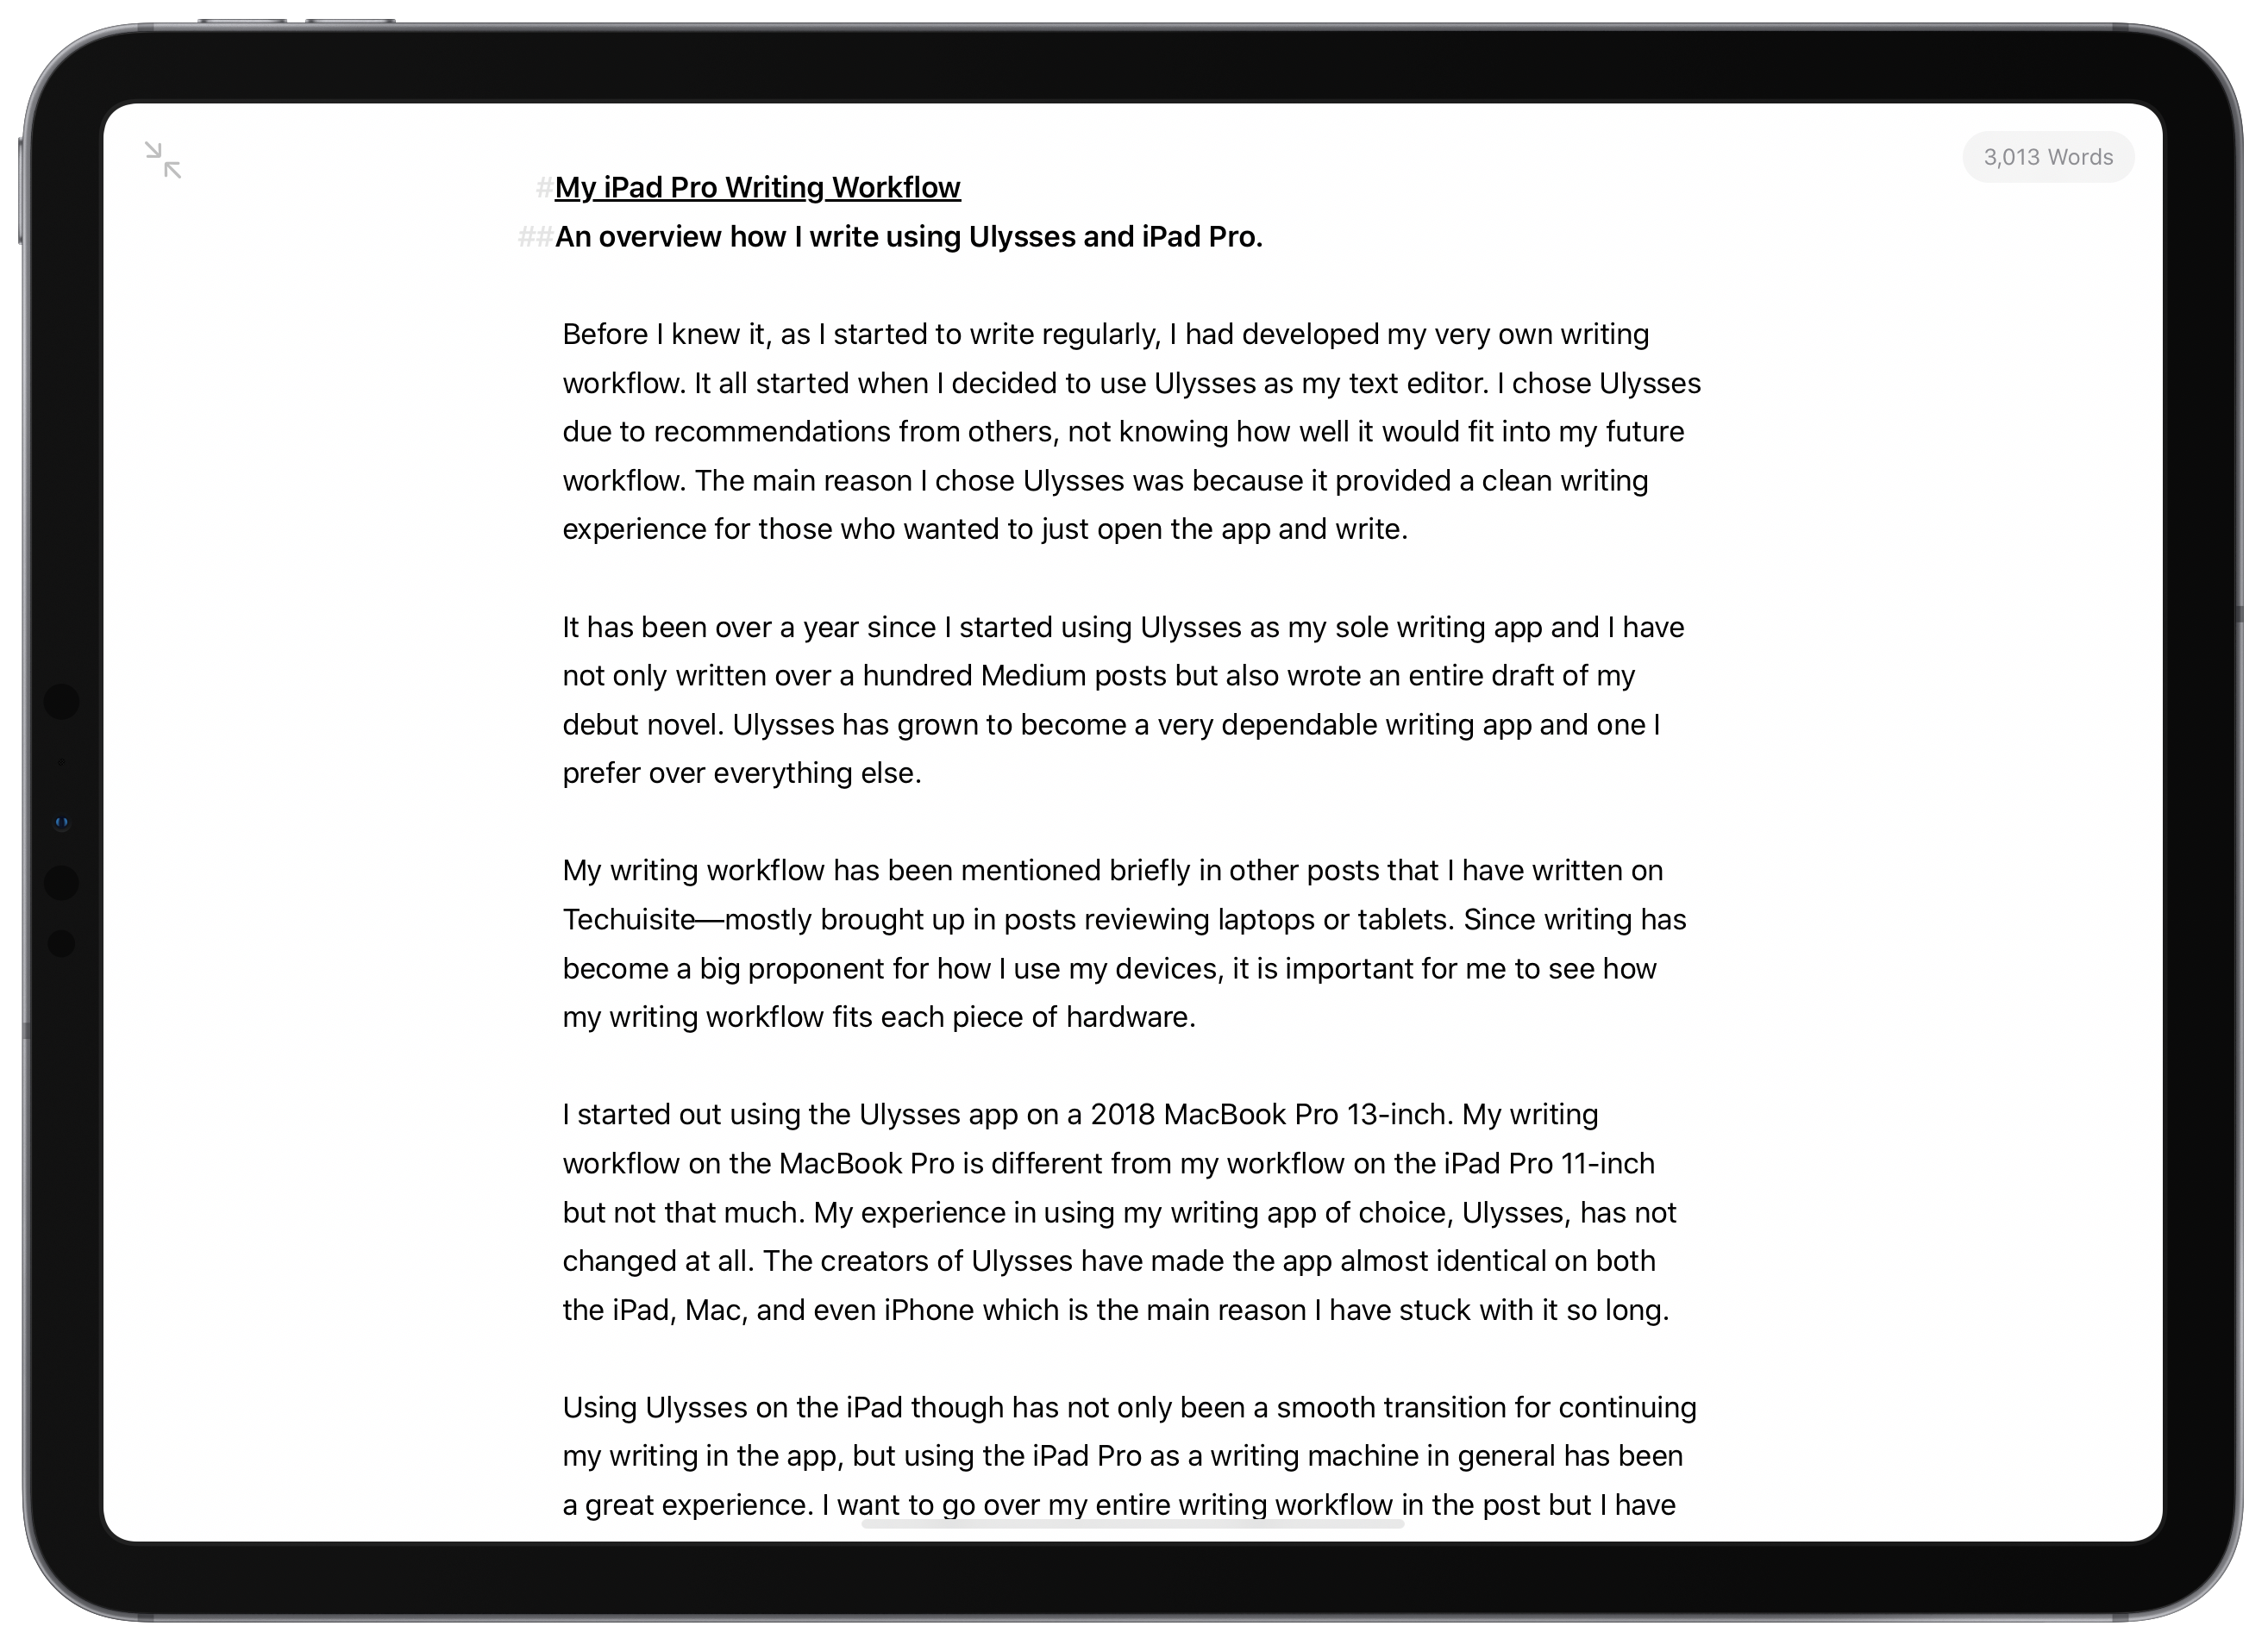
The best part of Ulysses though, is the editing window. Once I start my Writing playlist in Apple Music and have this editing window in full screen, I am sucked in to complete focused writing mode. All I see is either a white screen with black text or black screen with white text, whether I am using dark mode, for a distraction-free environment for words to fill the page.
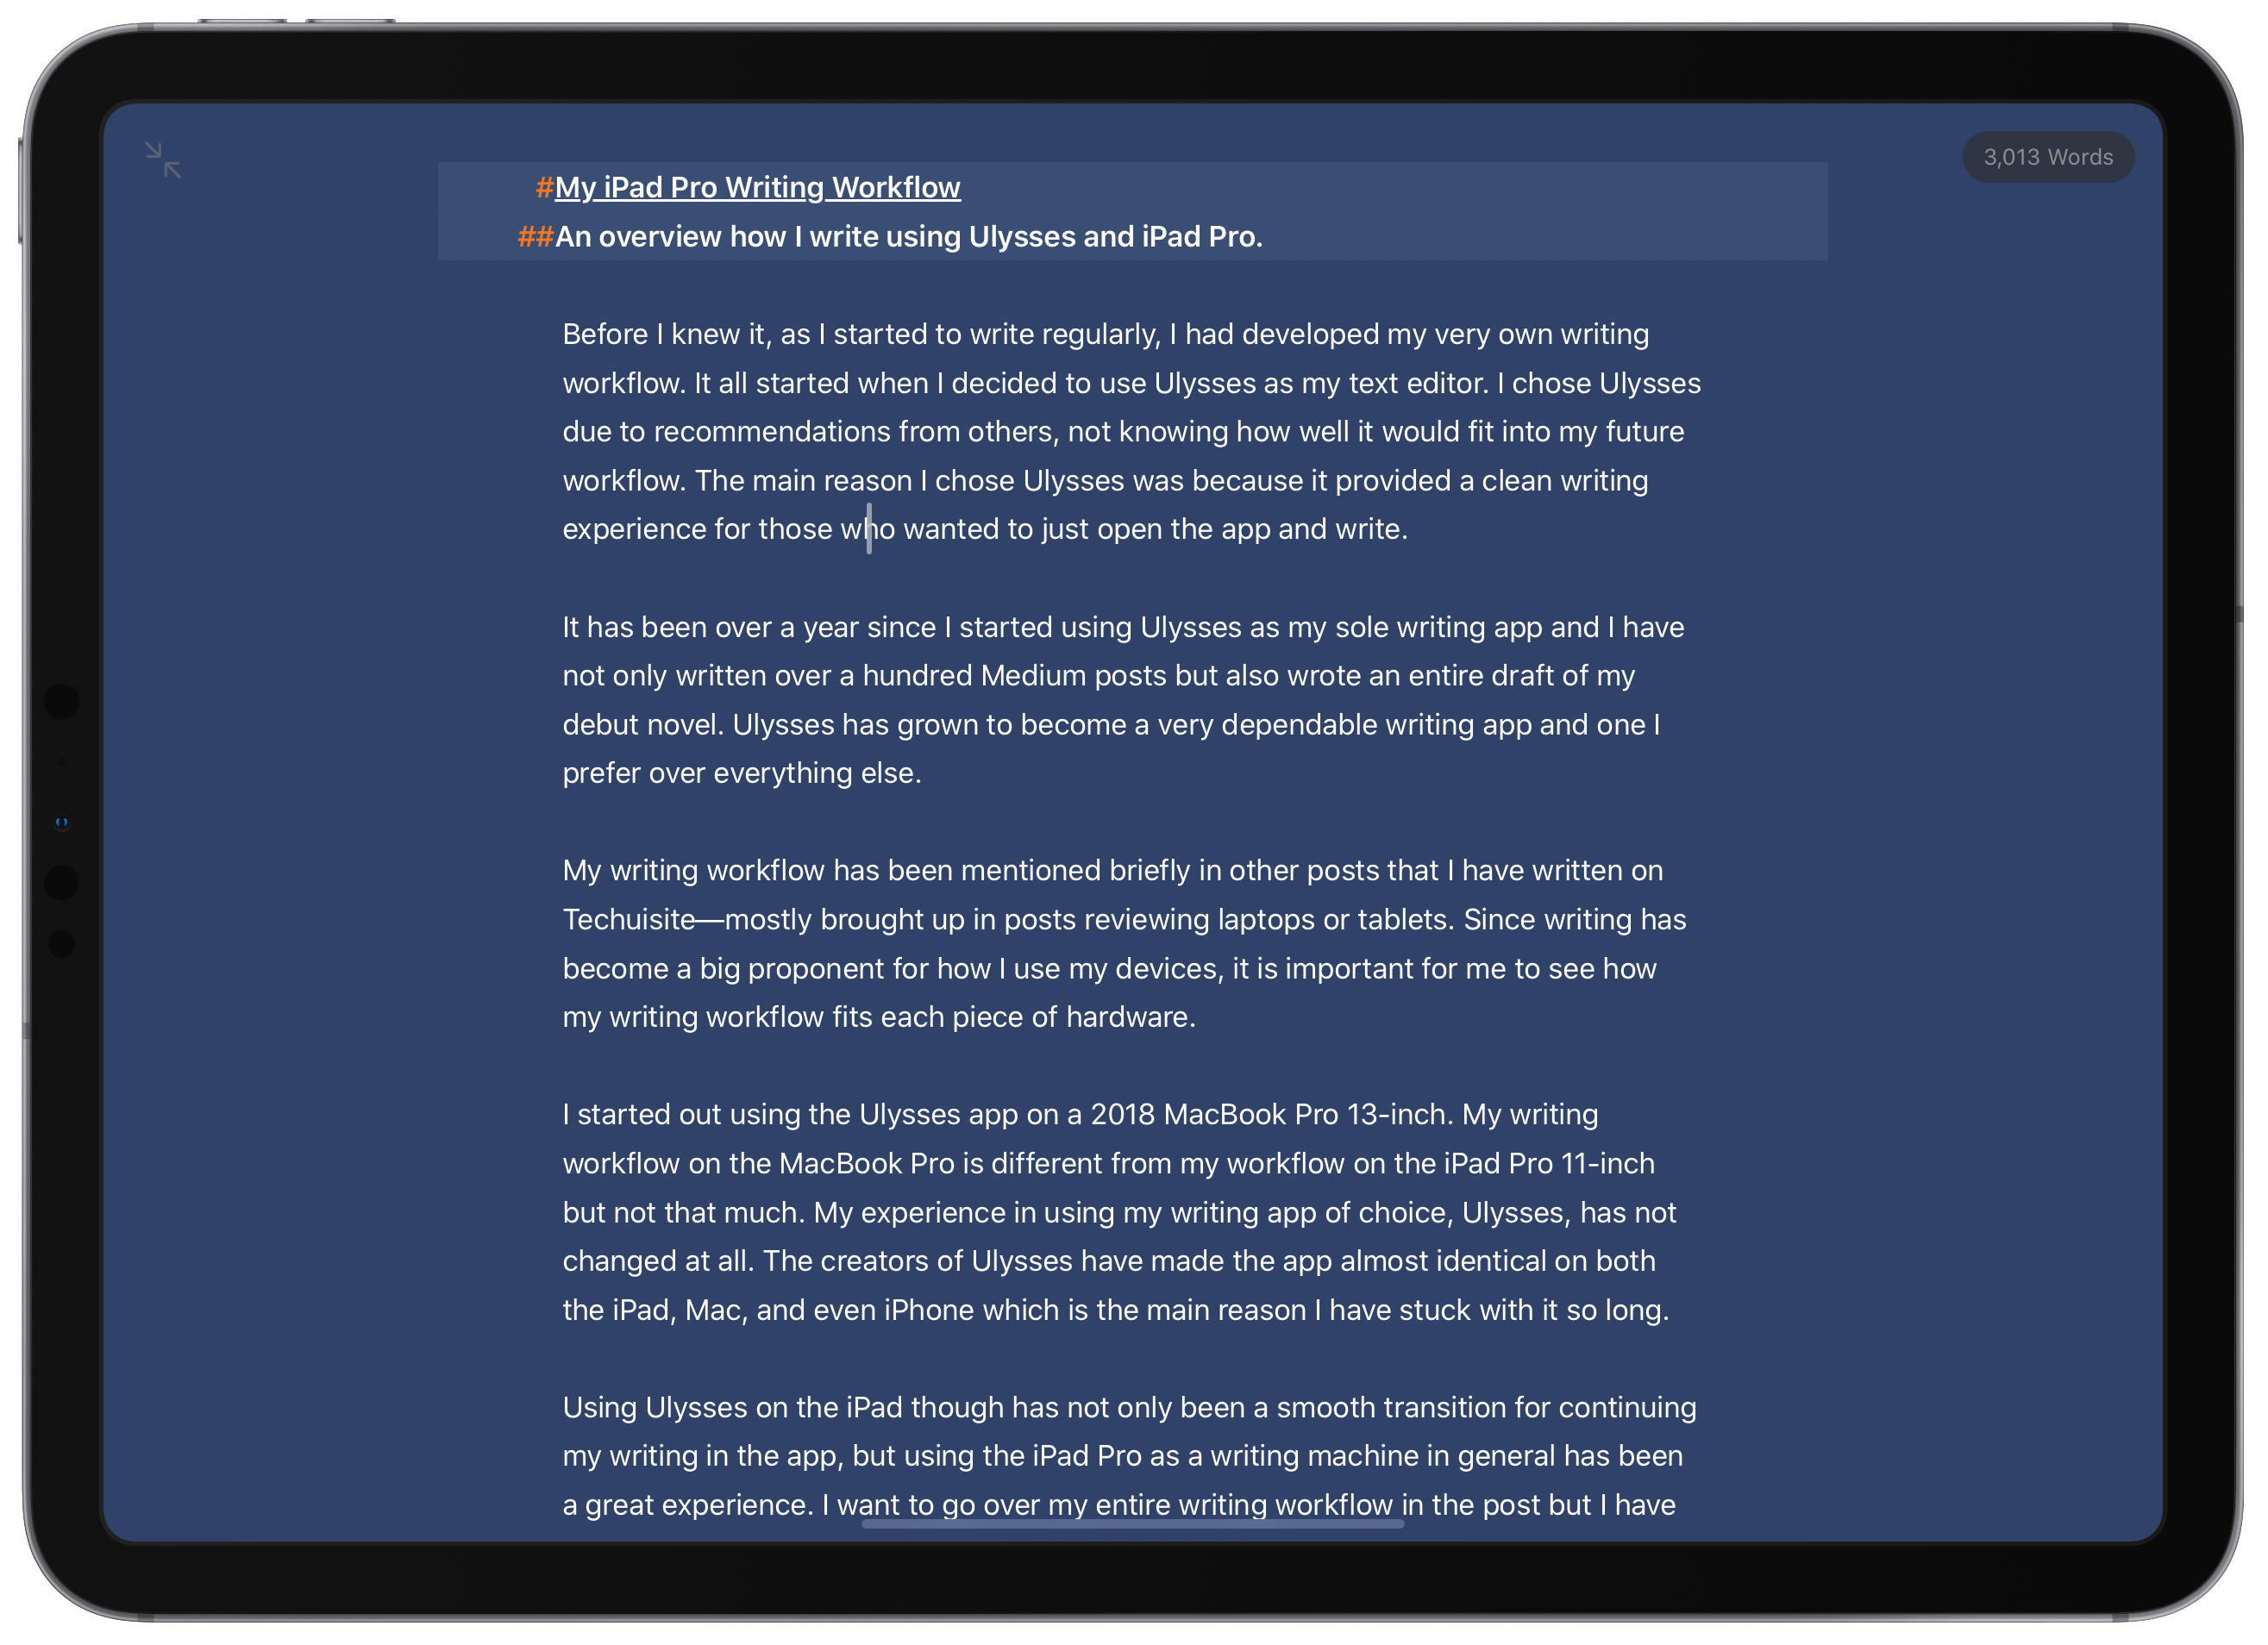
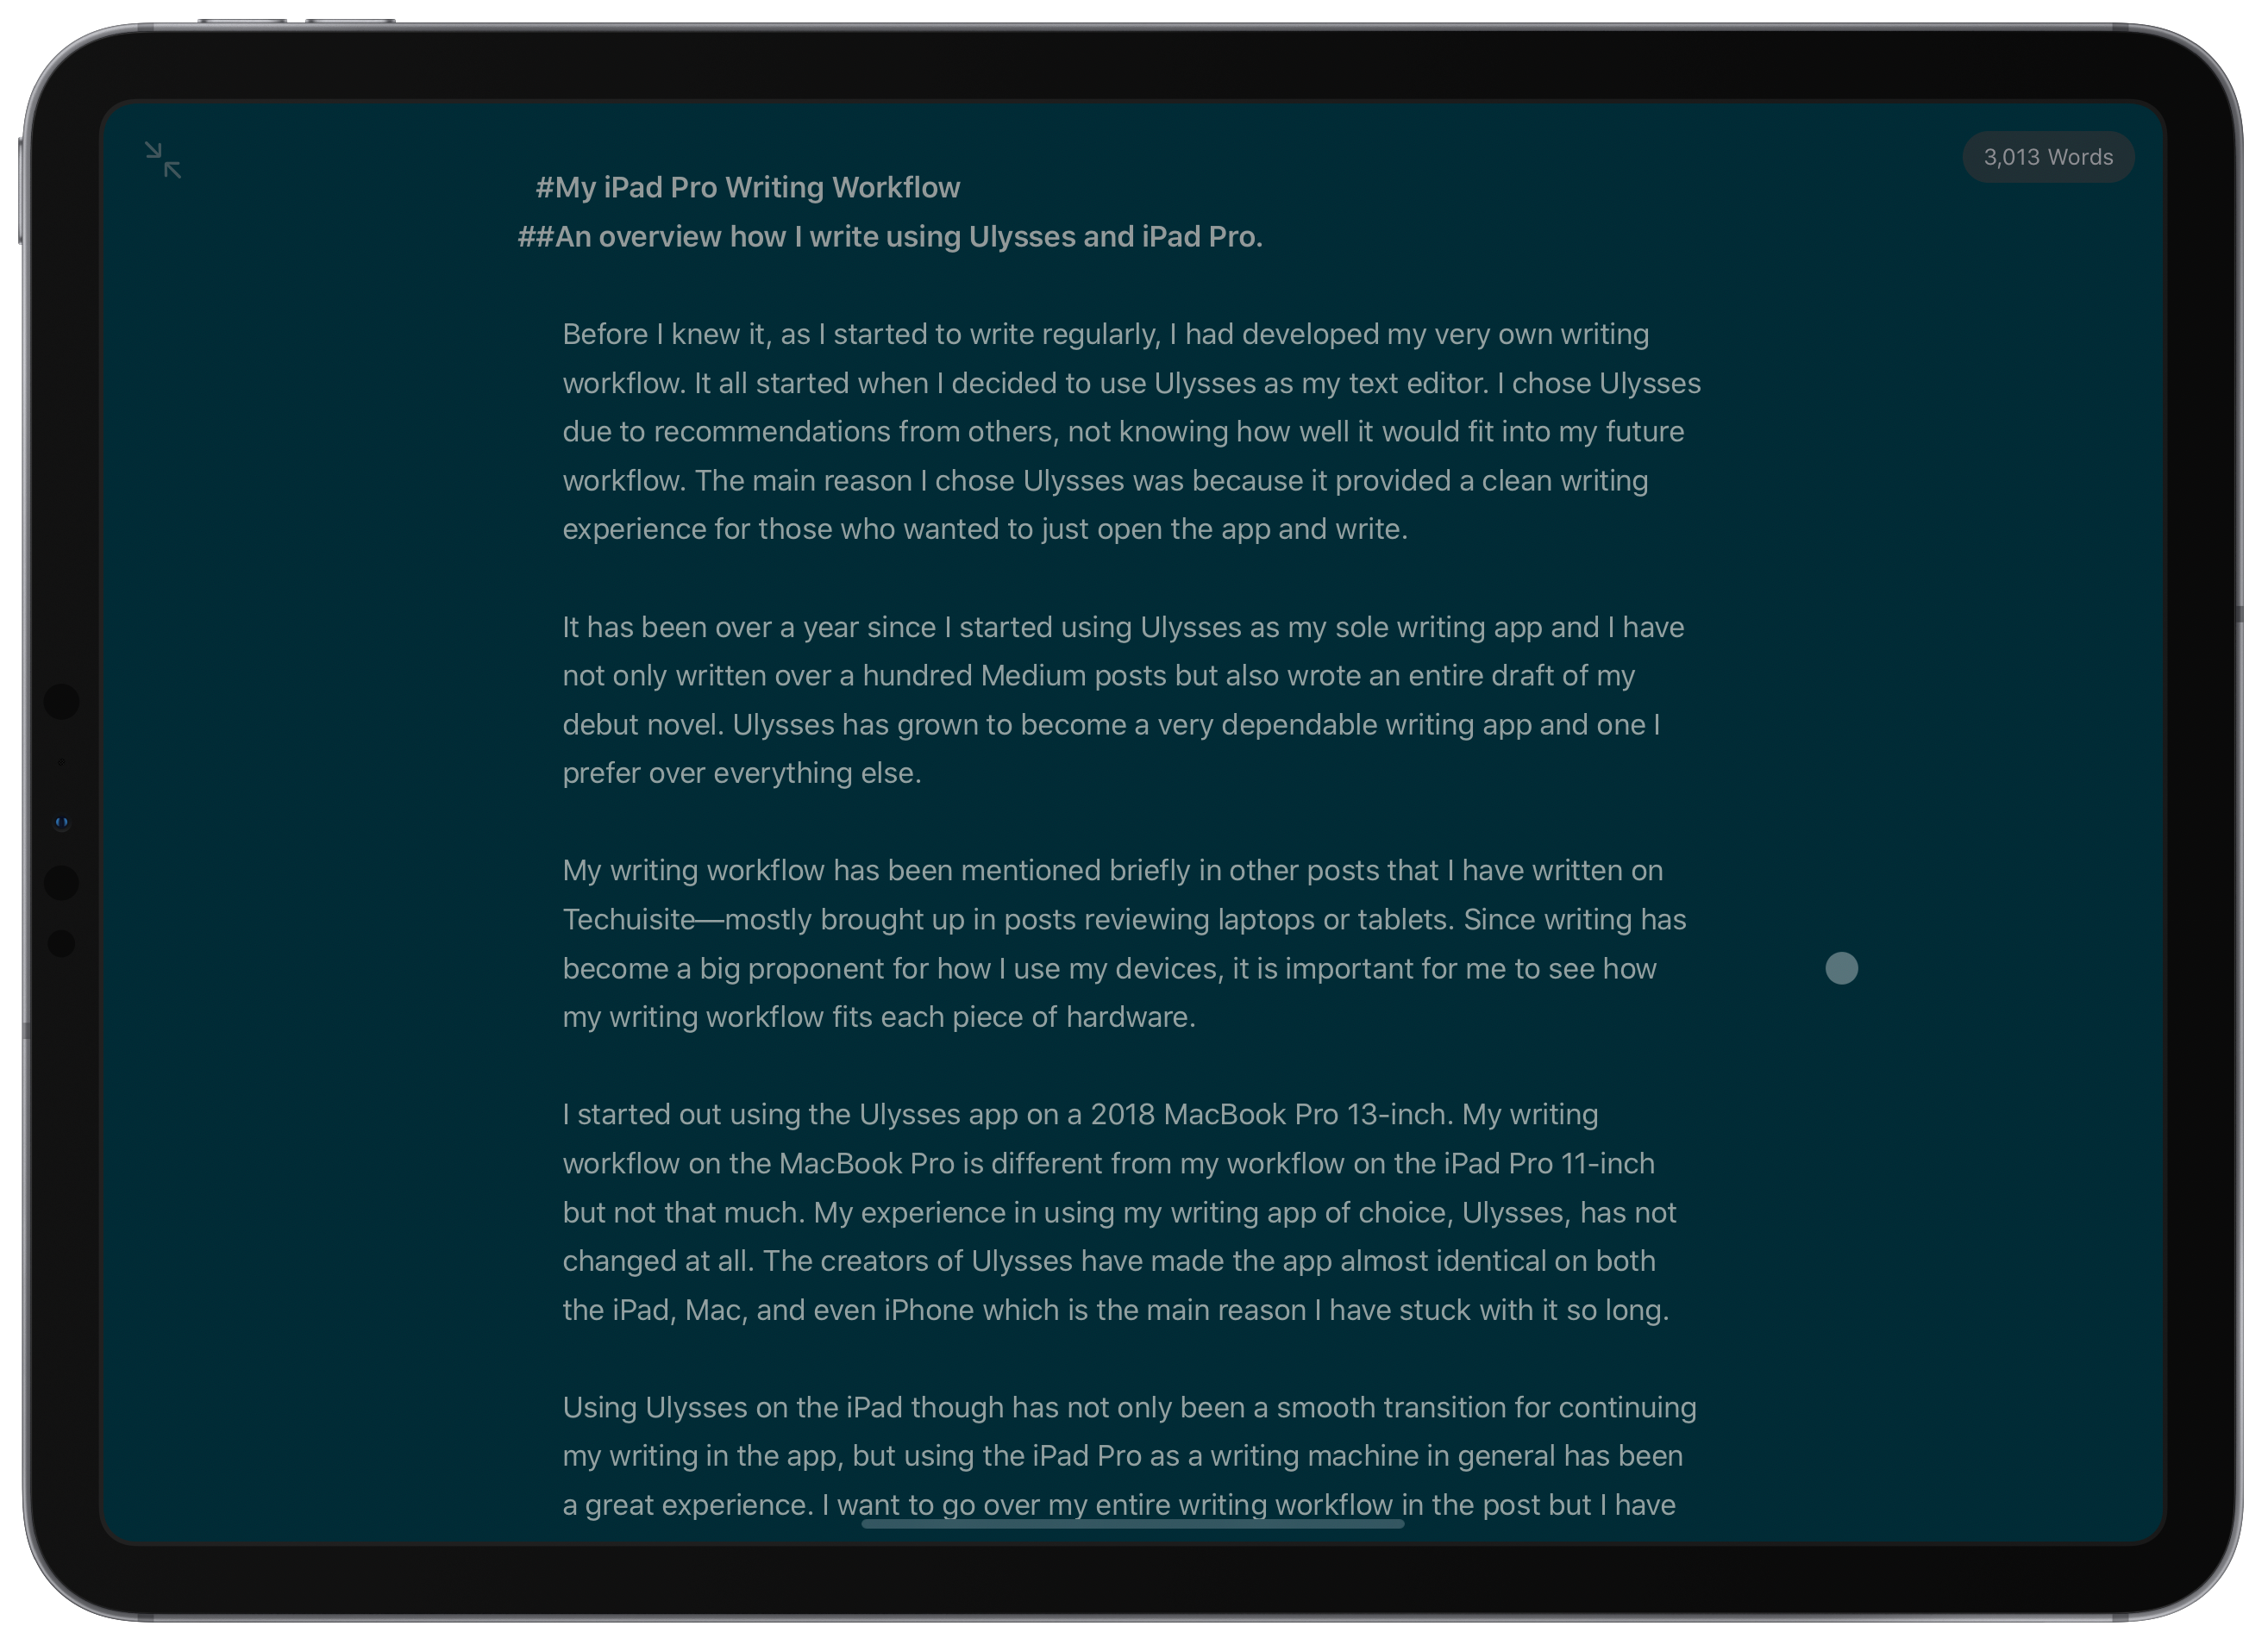
There are a variety of different themes you can choose from for the editor window, but I find the default one, D14, works just fine in both light and dark mode. Part of this has to do with the fact that I don't care to mess with Ulysses too much, I really do appreciate its straightforward approach on giving you a minimalist editor to allow for you to just focus on writing.
Ulysses also supports Markdown, though they do some things that do not follow the standard Markdown syntax. I have not used Markdown enough to know what pure native Markdown is, nor do I really use it in Ulysses that much. Markdown is helpful though in putting font or text adjustments like headers, italics, bold, and hyperlinks without having to leave the keyboard. If you want to learn more about Markdown, here are a couple of places to get started; John Gruber Creator of Markdown and Markdown Guide.
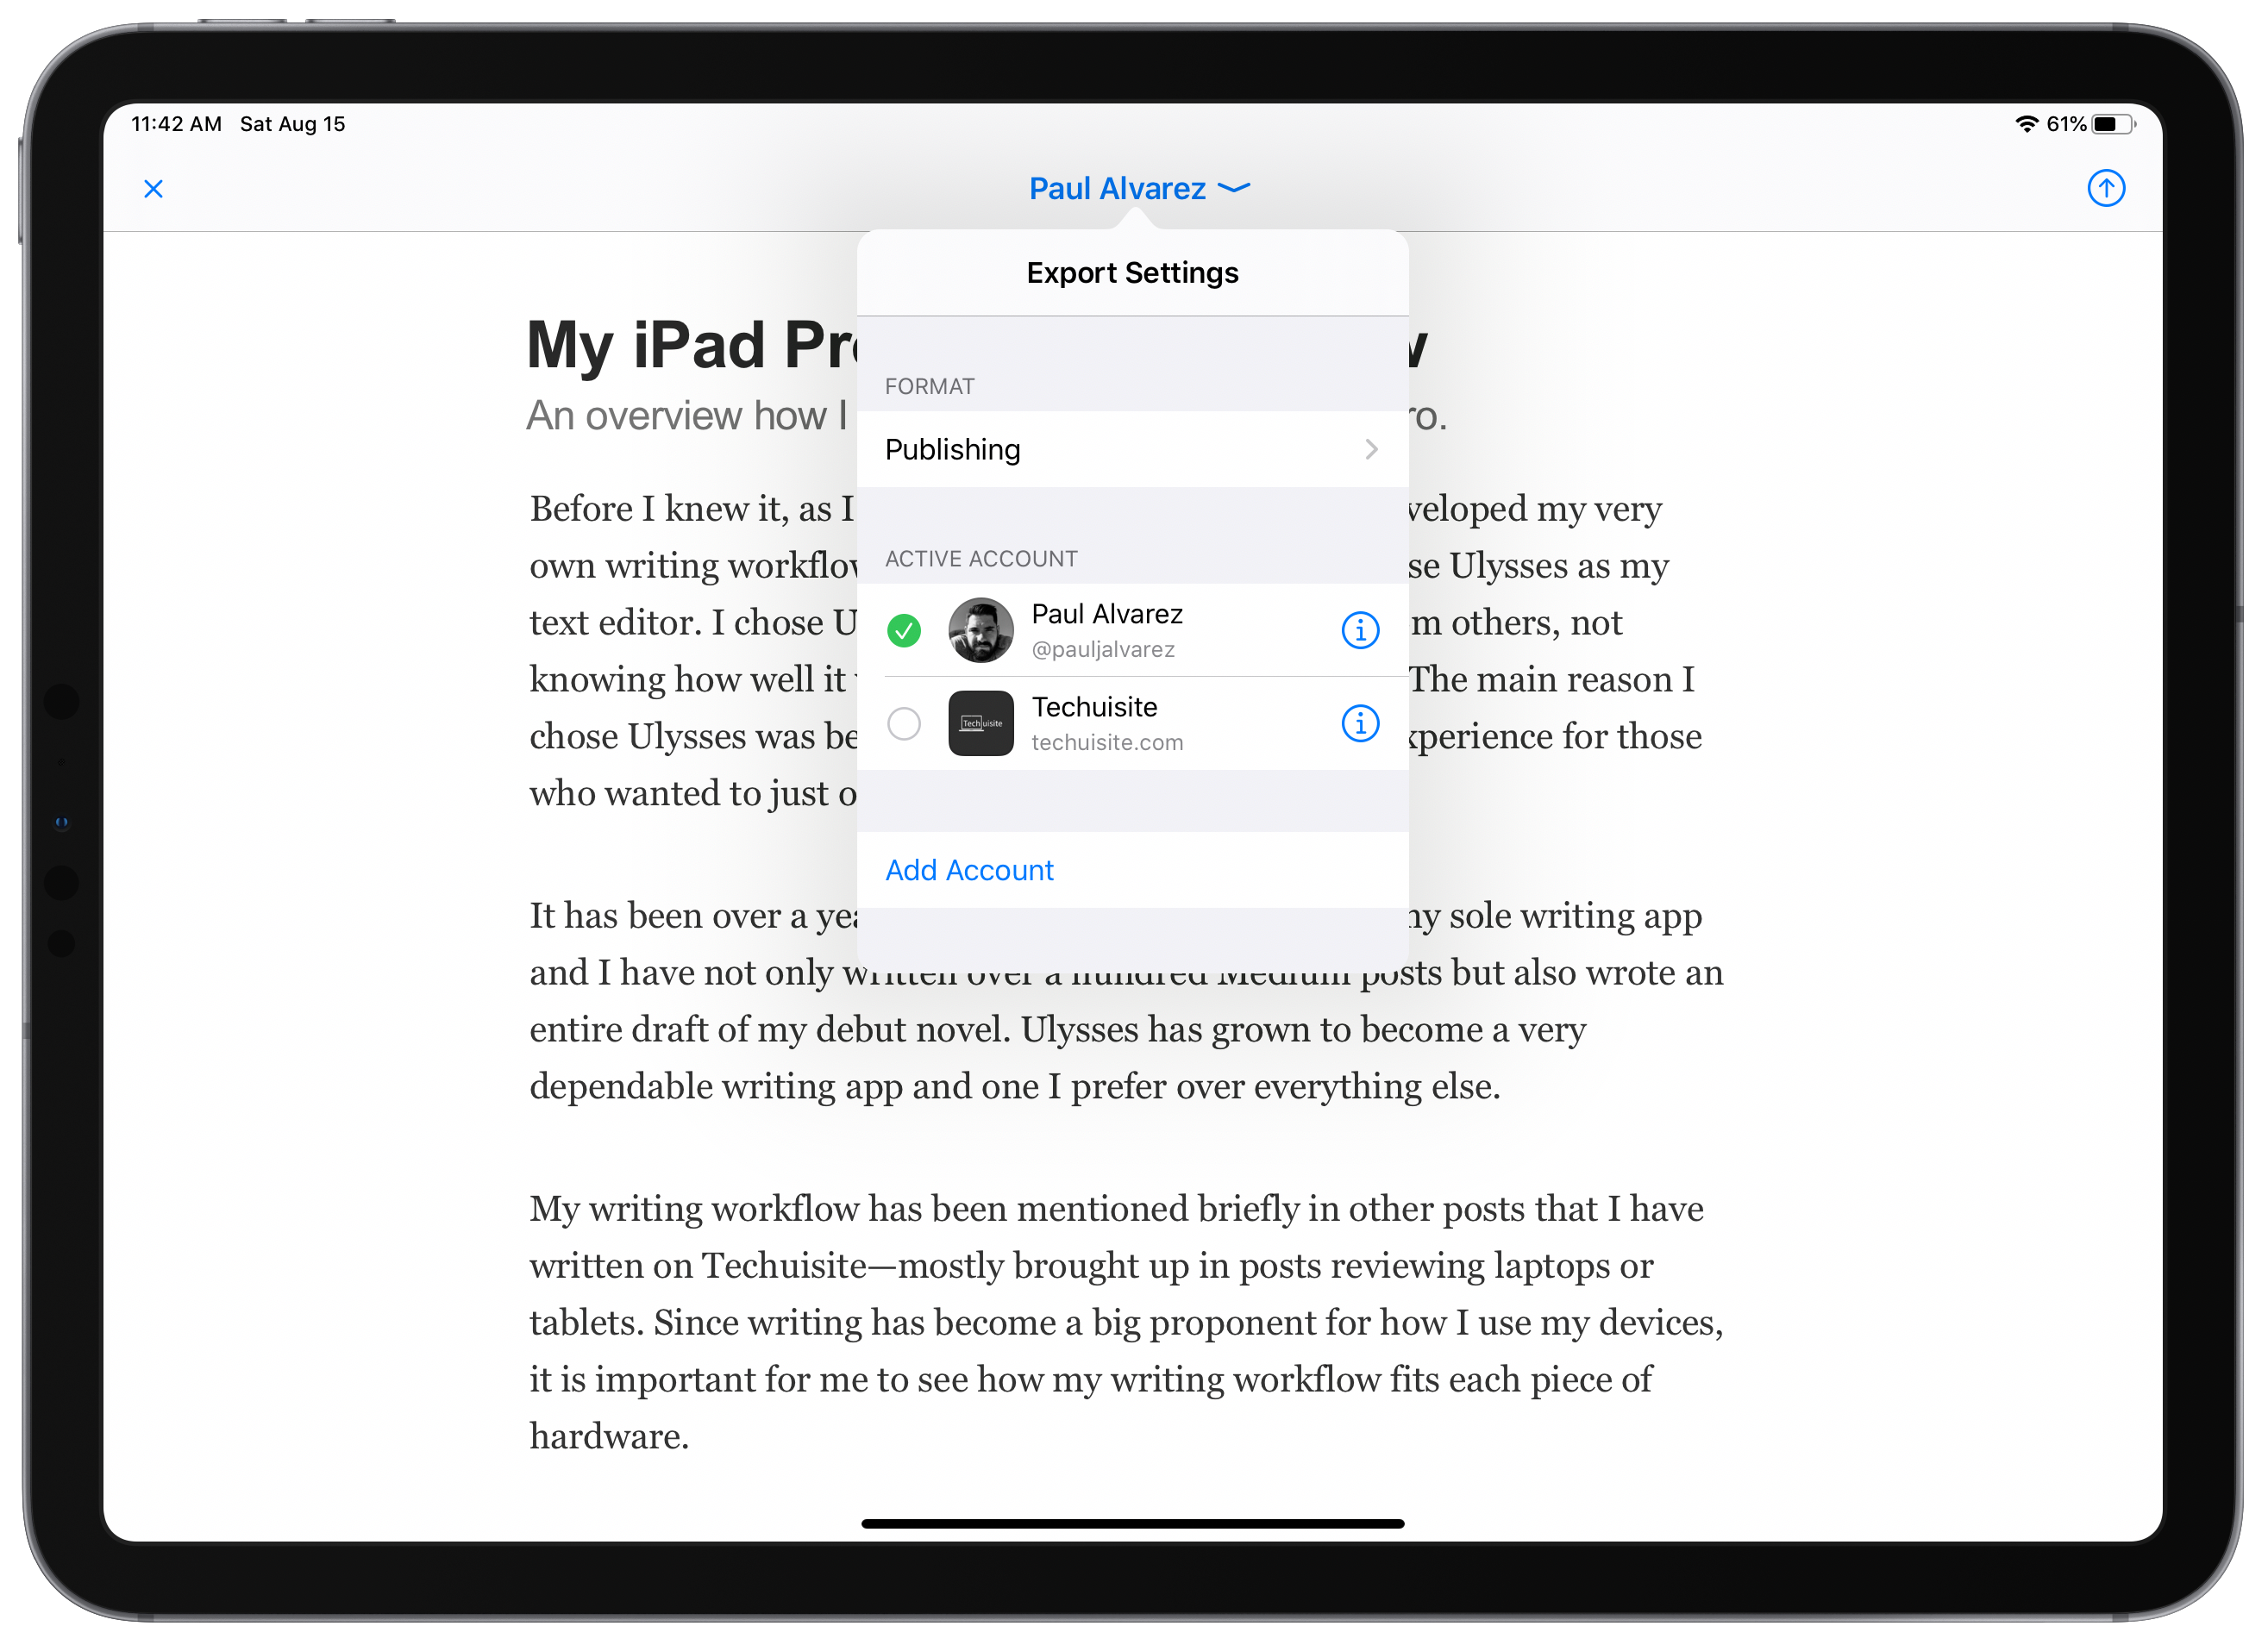
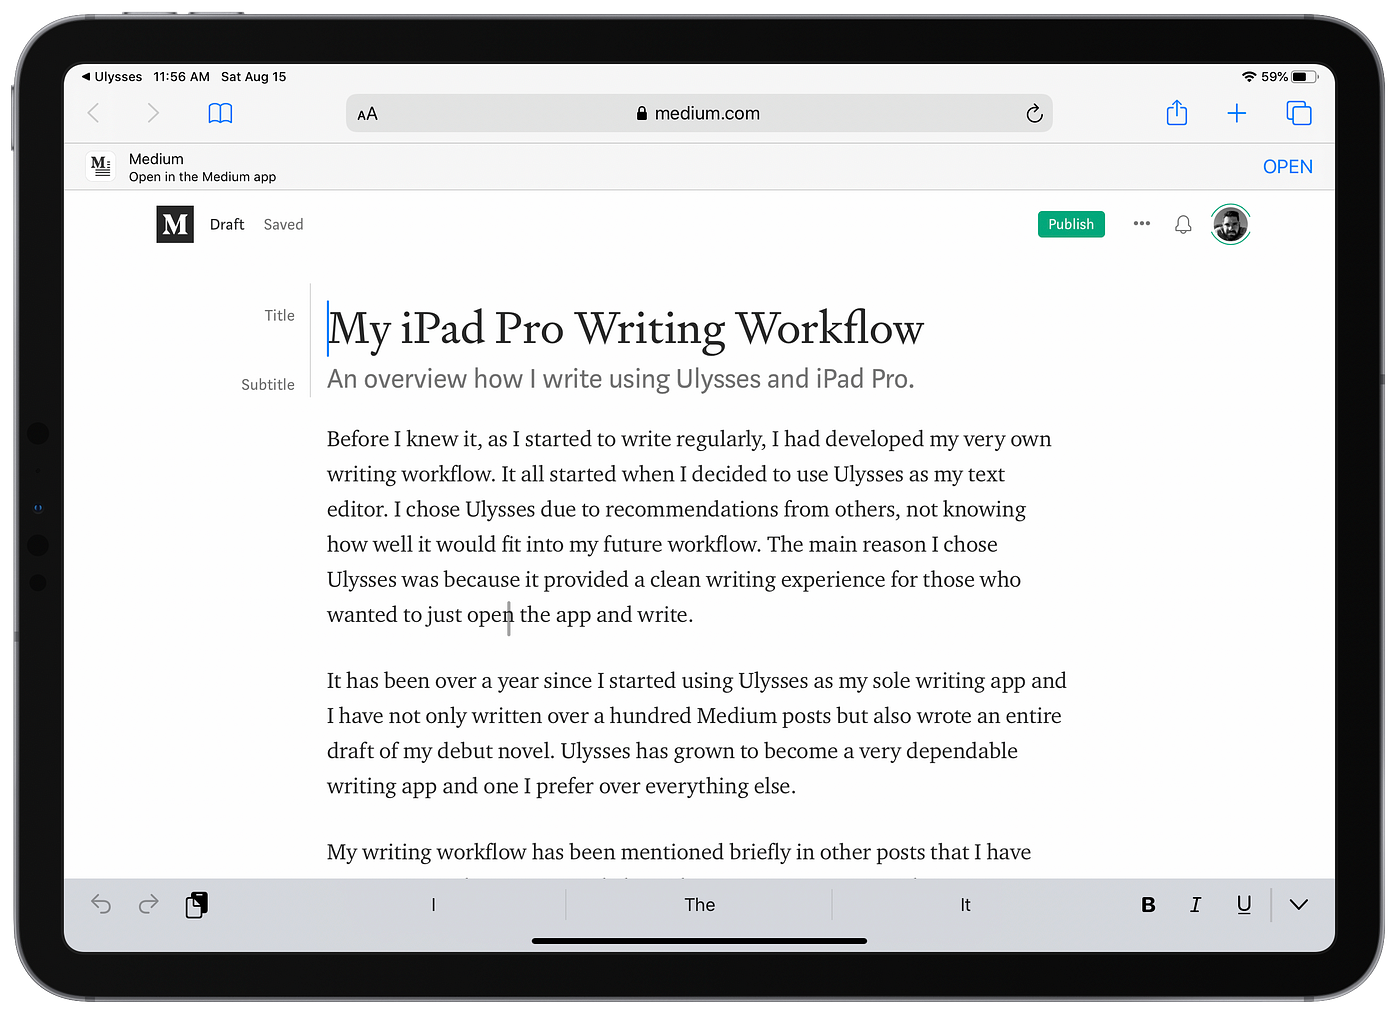
The last feature I will talk about in Ulysses is its export capabilities. For publishing, I have linked my Medium account, so I can send a draft of a post directly to Medium when I feel it is ready to go. I also have other export options like PDF, Word, Text, or even ePub to send to Apple Books, which I sometimes use for drafts of my novel.
This export feature is beneficial instead of having to copy and paste the text of my post into Medium's website manually. Since I do my finishing touches with edits and upload my pictures on Medium's site, it provides a nice transition into the next step of my workflow.
Ultimately, the main reason why I love Ulysses so much and why I keep using it is because of its simple design aesthetic. You can add a ton of complexity to Ulysses if you need it, but at the base, it is an easy-to-use text editor that helps you just get to the writing that you want to do.
Editing
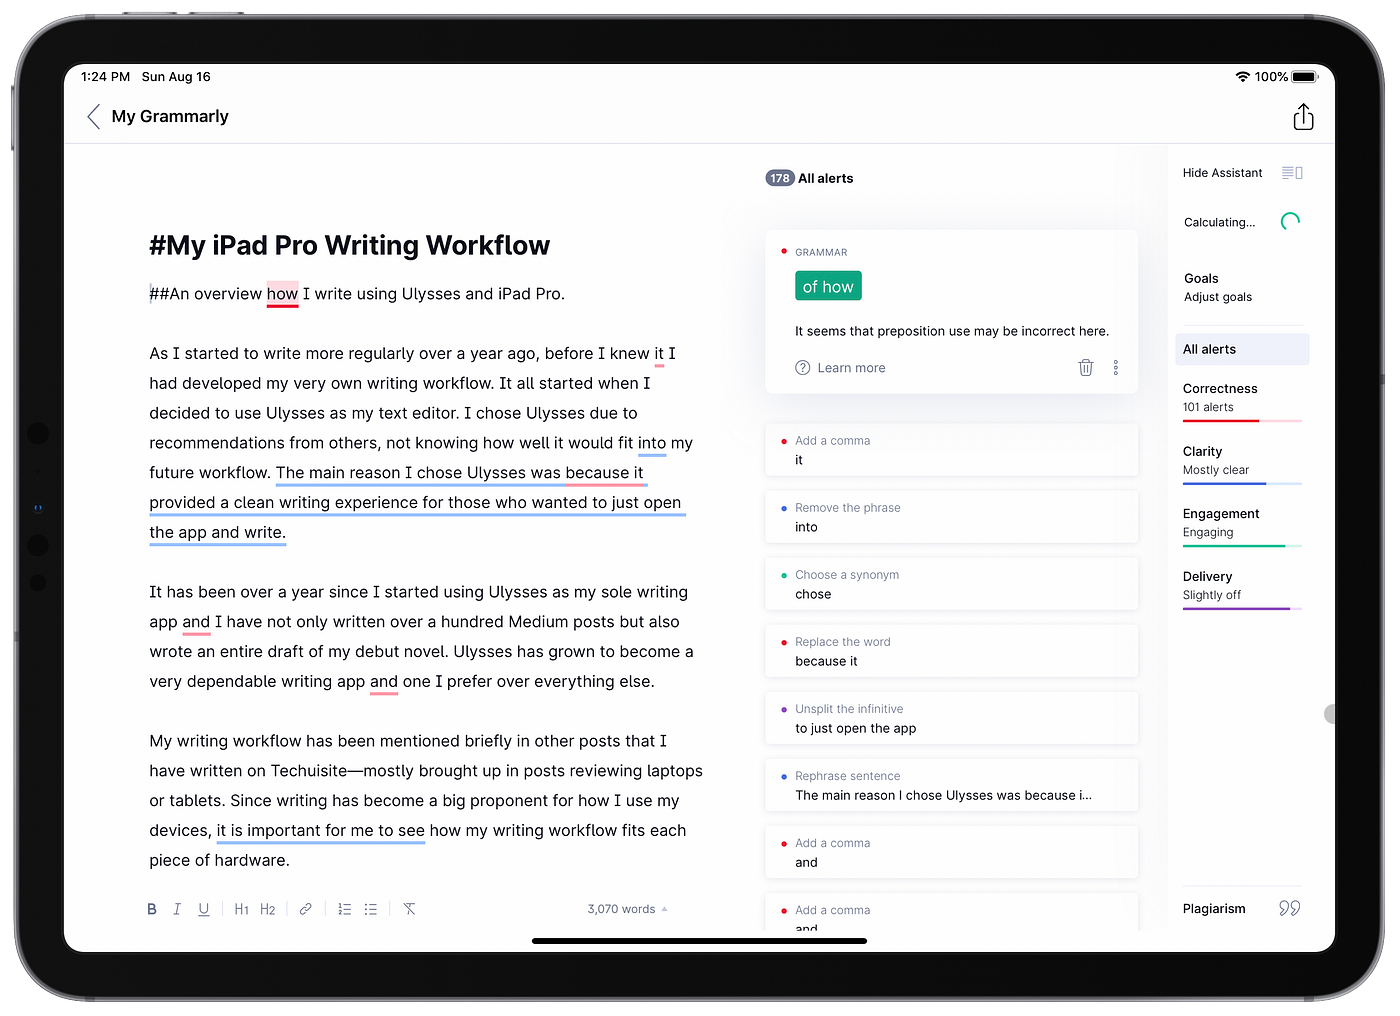
When it comes to my novel, the editing is mostly just me rereading chapters over and over again or having my wife help with some of it. For blogging and writing on Medium, I have used Grammarly for over a year now.
When I started using Grammarly, I would use the Chrome extension while editing my Techuisite posts on Medium CMS. This was a significant loss for me once I started thinking about transitioning from the MacBook Pro to the iPad Pro, since the iPad Pro, even with a desktop-class browser, doesn't support web extensions in Safari or Chrome.
Since then, I have come around in depending on Grammarly too much. I still use it for most of my writing, but not all of it, and I have found that the Grammarly app on the iPad is sufficient for what I need. It does require me to manually copy and paste the text from Ulysses to Grammarly, but it isn't that big of a burden.
I actually tried building a shortcut to automate this for me, but Grammarly doesn't seem to have native shortcut support and ultimately couldn't figure out a useful way to make it work. I may look into more later, but for now, copying and pasting is no big deal.
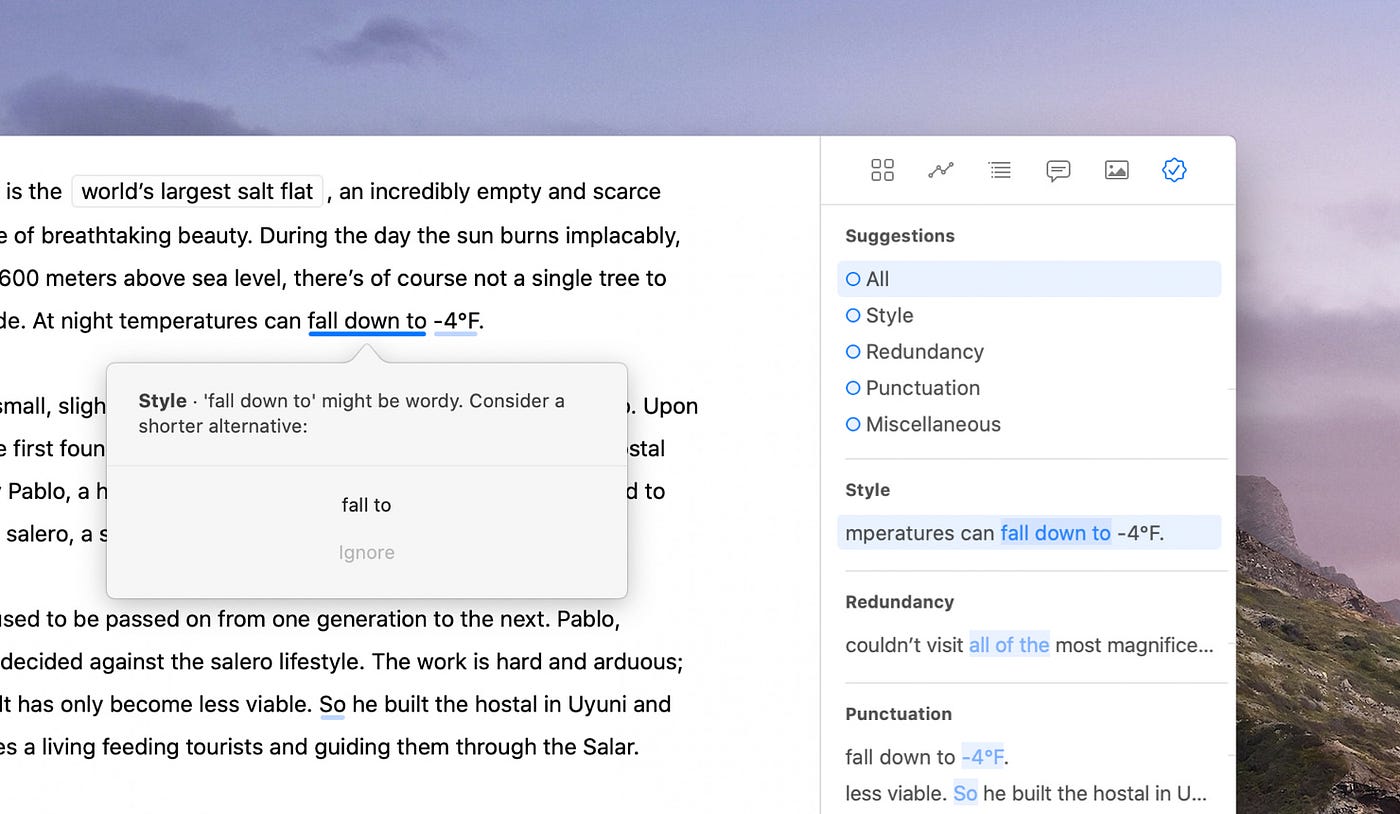
One thing I do look forward too is Ulysses built-in grammar and spell check feature that they introduced in version 20. Right now, this feature is only on the desktop version of Ulysses, but I look forward to having this on the iPad Pro, which would possibly eliminate my need for Grammarly all together. The creators of Ulysses said they would have this feature on iOS and iPadOS by the end of the year, so my hopes are pretty high that we will get it soon.
Photography

I am not a photography expert, nor do I have a fancy camera to take pictures of all my posts. What I do have, though, is an expensive smartphone that packs a pretty impressive camera.
Since writing for Medium, I have, like many, used Unsplash and Pexels to find title photos for my posts. I still do this for some posts, especially my opinion or general technology posts that don't go over any specific apps or gadgets that I am writing about.
For my review posts, though, it made more sense to take pictures of the hardware I was using myself. Especially when I wanted to show how I was using something in a certain way. So, over time I have relied on my iPhone 11 Pro more to provide the content I need to visually present the things that I am writing about.
I have noticed that since I started writing on Medium, my photos have improved quite a bit. The iPhone has made it unnecessary for me to need a standard camera for the pictures that I need to take for my reviews. And along with the Photos app for simple editing, it is all I need to add some pretty high-quality photos to my posts.
This is not to say my photos wouldn't benefit in using a DSLR Camera and Lightroom, but for what I need, I think the iPhone 11 Pro and Photos app works just fine.
Publishing
So publishing you would think would just be a matter of clicking the Publish button on Medium, but for me, this step is a little more than that.
When I send my edited post from Ulysses to Medium as a Draft, I then go through the steps to make it "publishable." This includes rereading the entire post again, most times in the Medium app on my iPad to get a good idea of how the post will read when on the website, then I add all the photos, add the tags, then hit publish.
You can argue it is almost a second editing step, but for me, this is making my post publish-ready. It takes time to place the photos in the correct place in the post, adding titles to those photos, and catching any other inconsistencies or grammar mistakes that you can miss in the text editor.
Once I have it ready to go is when I add the tags, then finally publish the post. If it is a long post, like this one, I will probably reread it on my iPad with the photos before publishing, making sure everything is organized correctly before finally saying it is done.
And there you go, my super simple and straightforward writing workflow. I sometimes may skip steps, do some steps out of order, or do additional steps that I didn't cover above. For the most part, though, this is the workflow that I try to follow to make sure my writing stays consistent.
When I say consistent, I don't just mean that the content stays consistent but also the amount of writing that I do. It can be difficult to just sit down and write sometimes, let alone get to the point where you have something that you are proud of to publish.
Making sure I have steps in place to cover all my basis to ensure that my writing will be as complete as possible is essential. I like to type words onto a screen, that is the most exciting part for me, but it isn't worth anything if it is not enjoyable, readable, or organized.
Everyone is going to have a different way that they want to write. There is an abundance of different apps, keyboards, tablets, computers, and gadgets that people gravitate towards to keep them focused. I am sure, over time, my tastes and needs will change and is the reason why no one should be stuck on one-way for doing things.
What I have learned more than anything else when moving to the iPad Pro is that there is always another way of doing something. The most important thing is finding what works best for you. I hope going over my writing workflow provides some use to others, and if you feel some things could help improve mine, I am excited to hear.
I have a newsletter for Techuisite to be able to send posts to readers by email, if interested please sign up using the link below:
Writing On The Ipad Pro
Source: https://techuisite.com/my-writing-workflow-on-ipad-pro-eb2d8408c241
Posted by: fowlerpind1987.blogspot.com
0 Response to "Writing On The Ipad Pro"
Post a Comment